

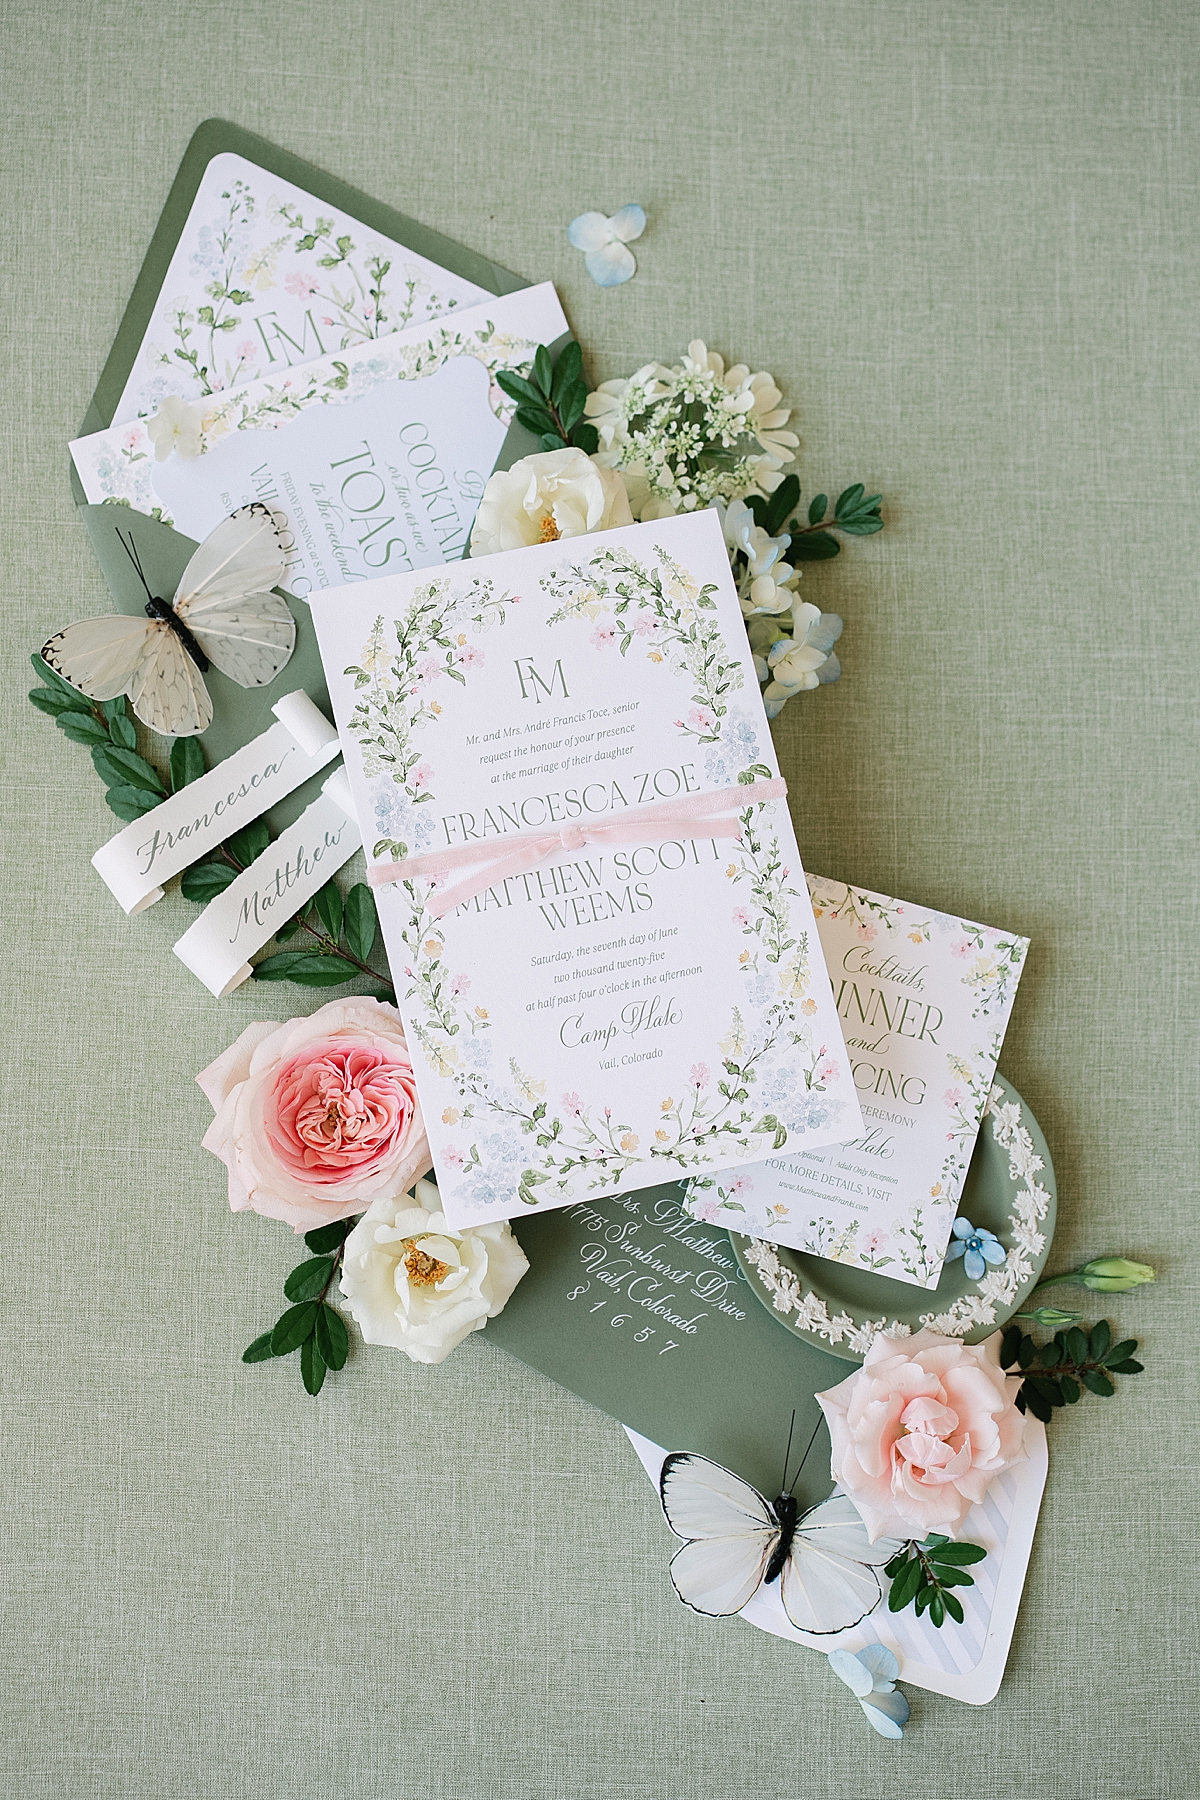
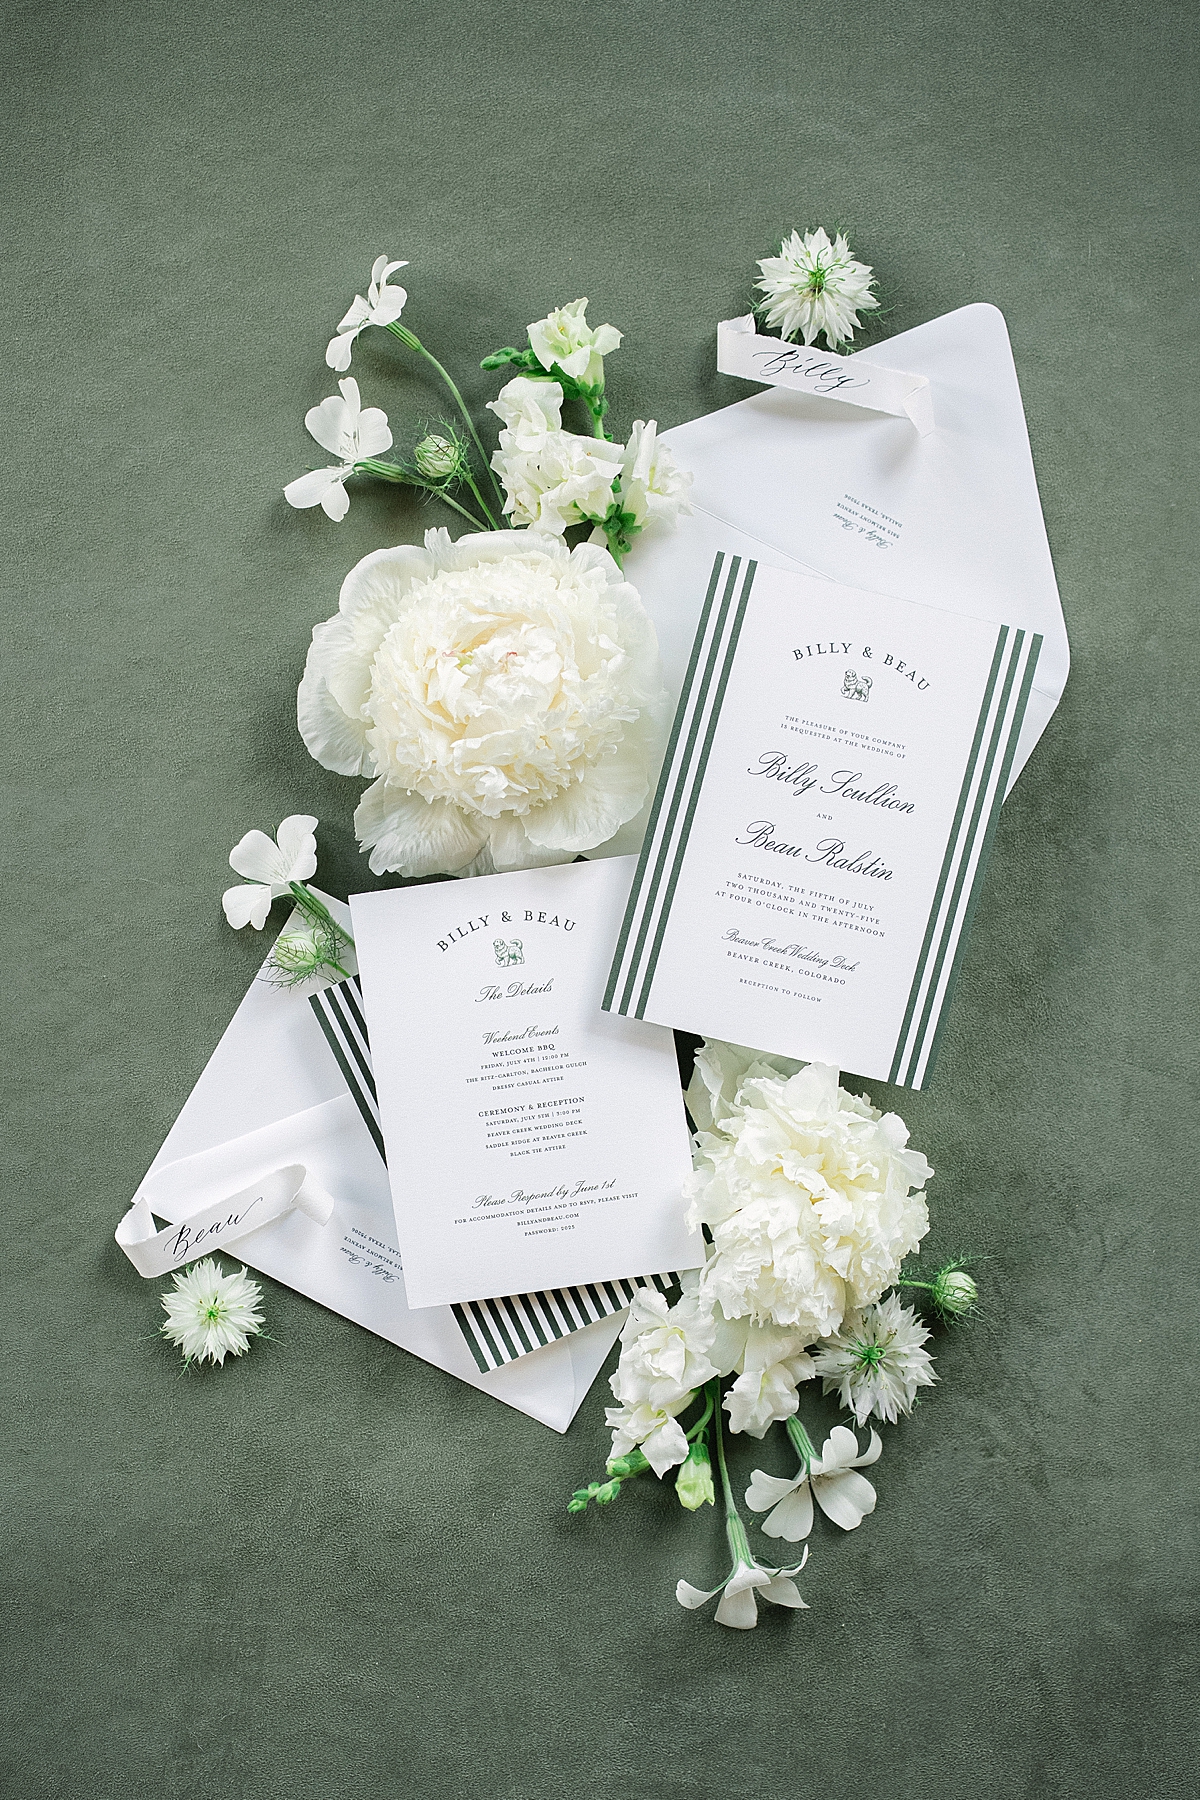
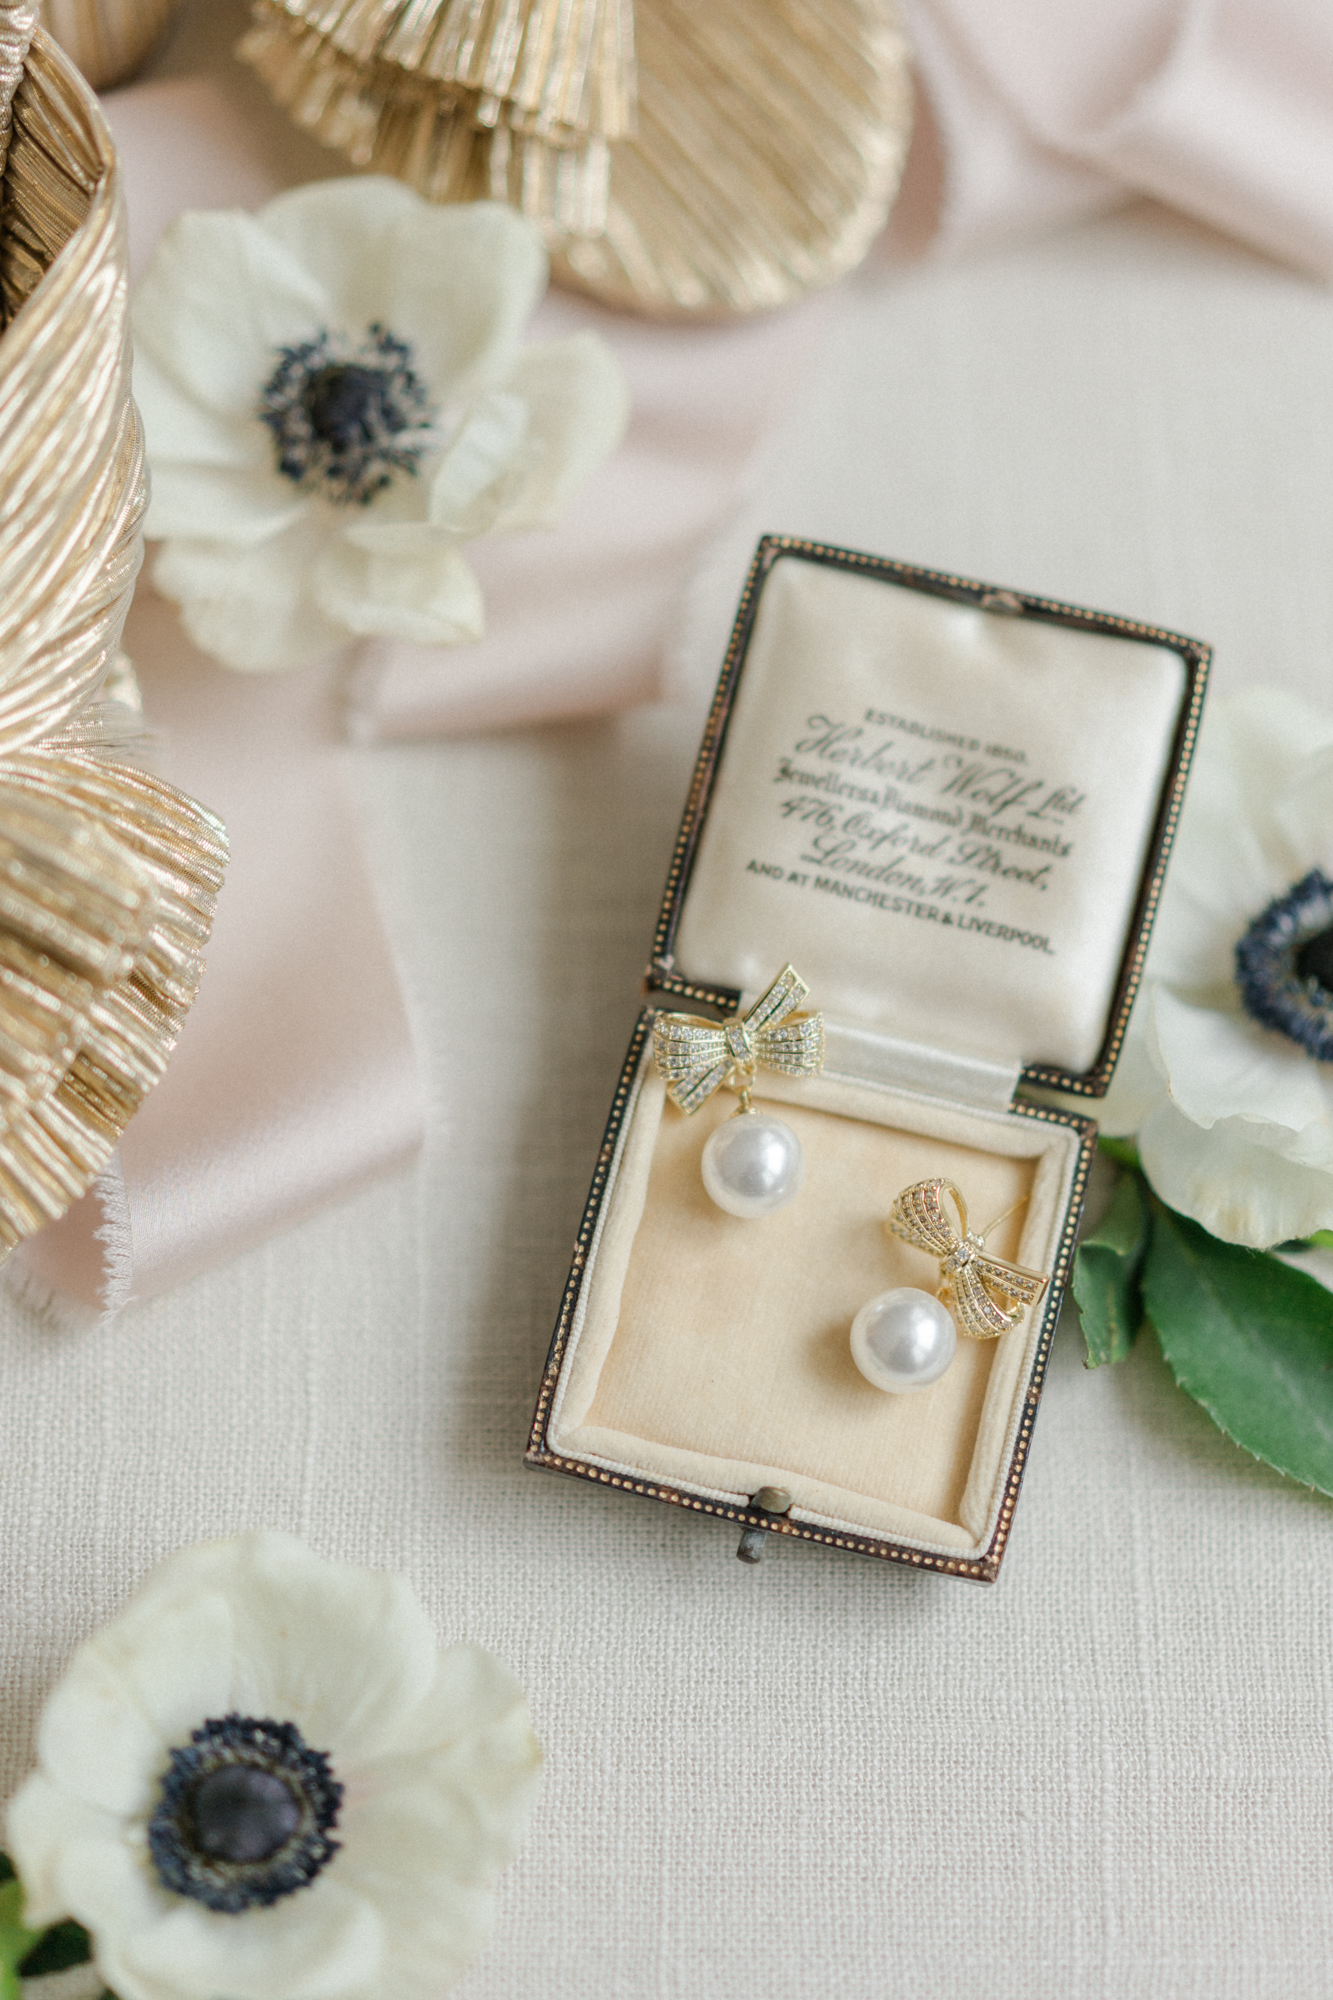
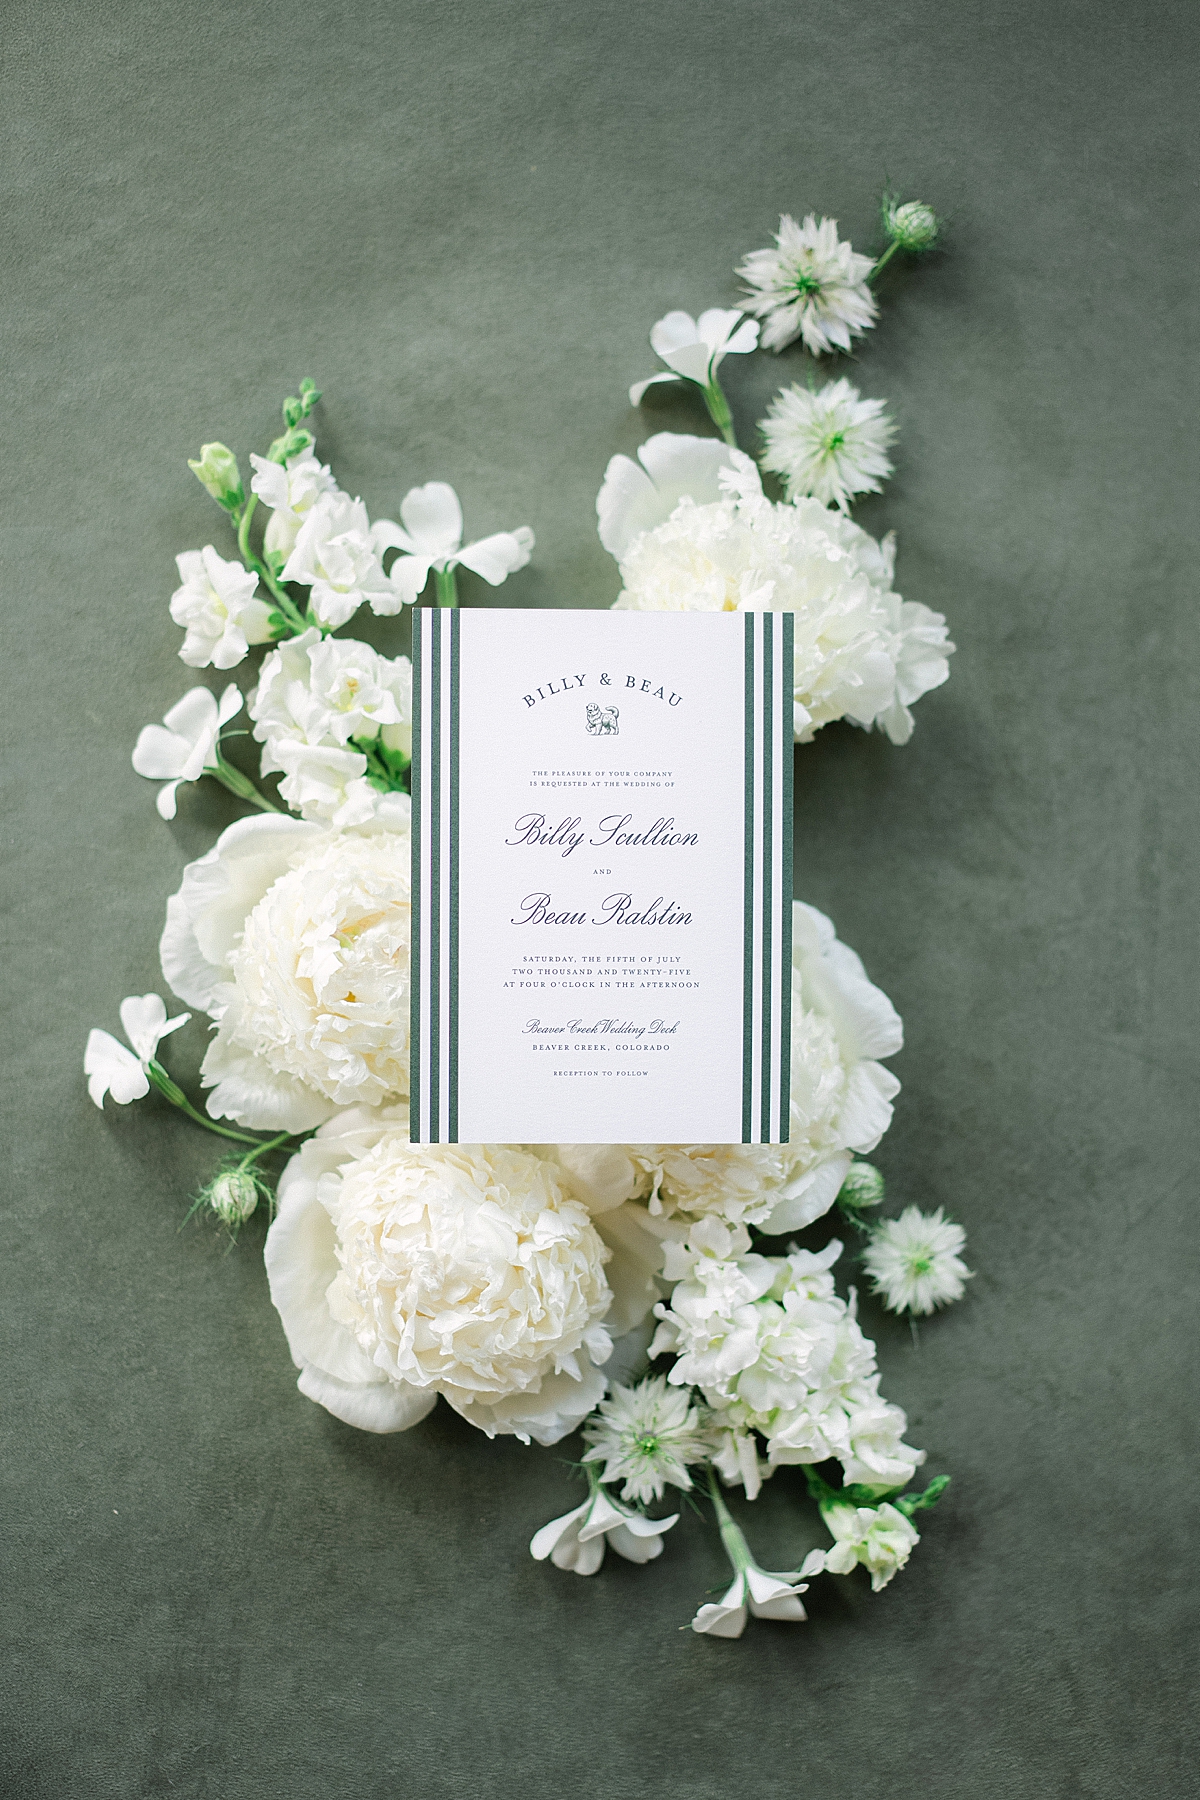
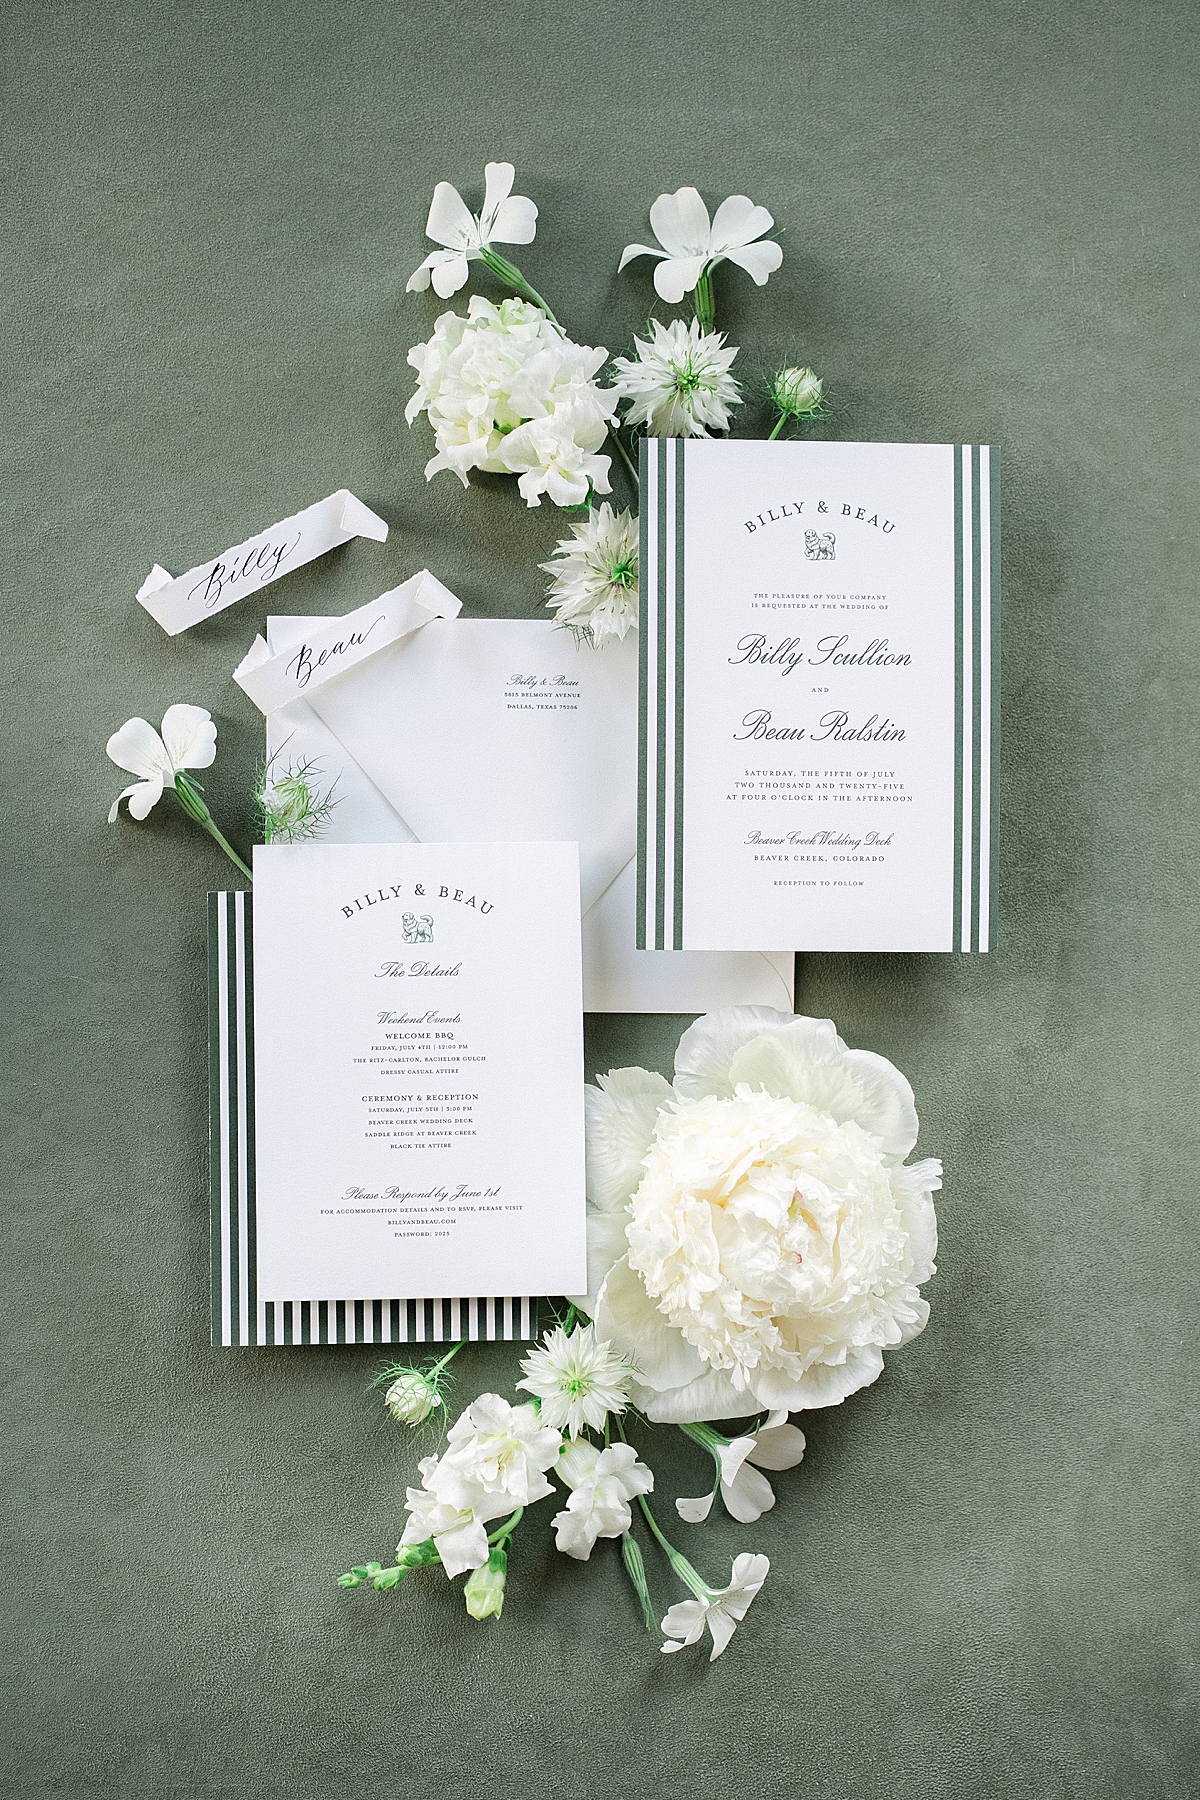
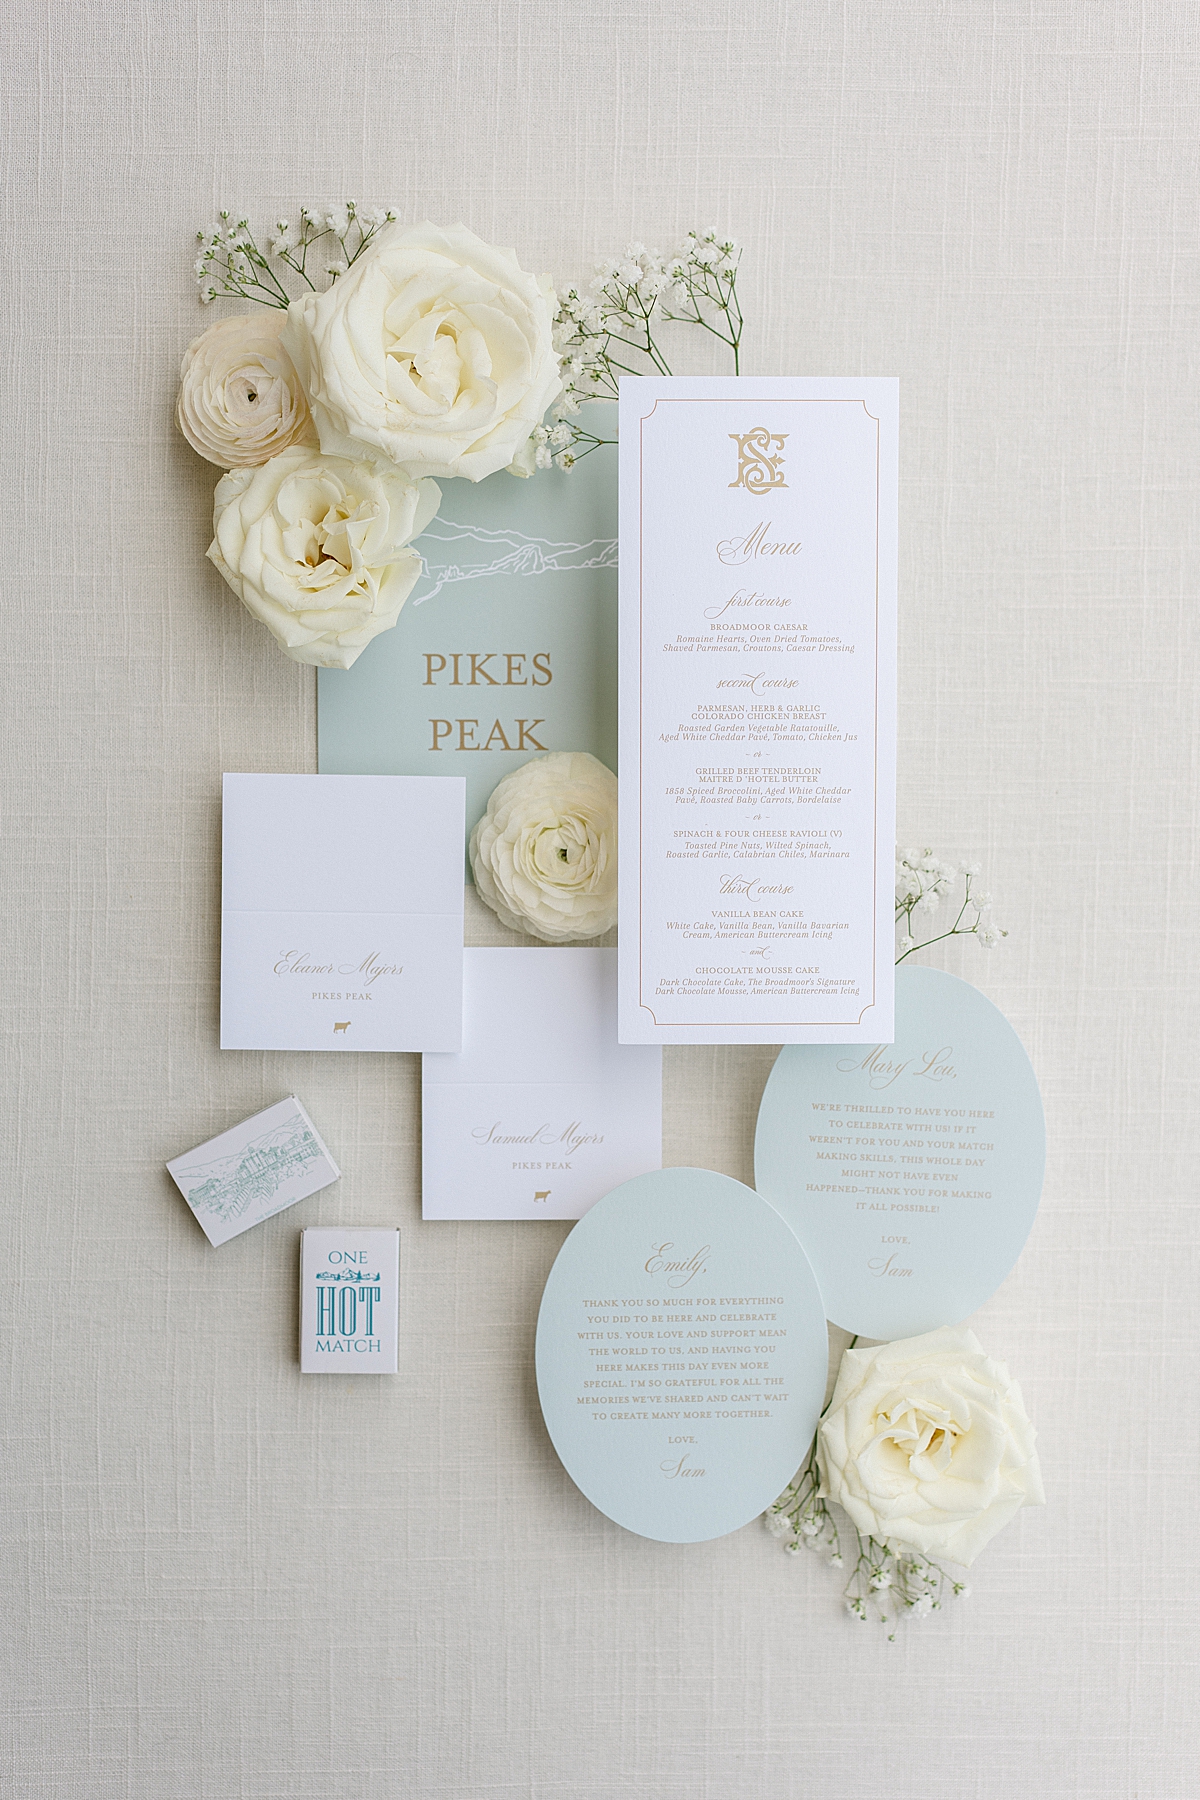
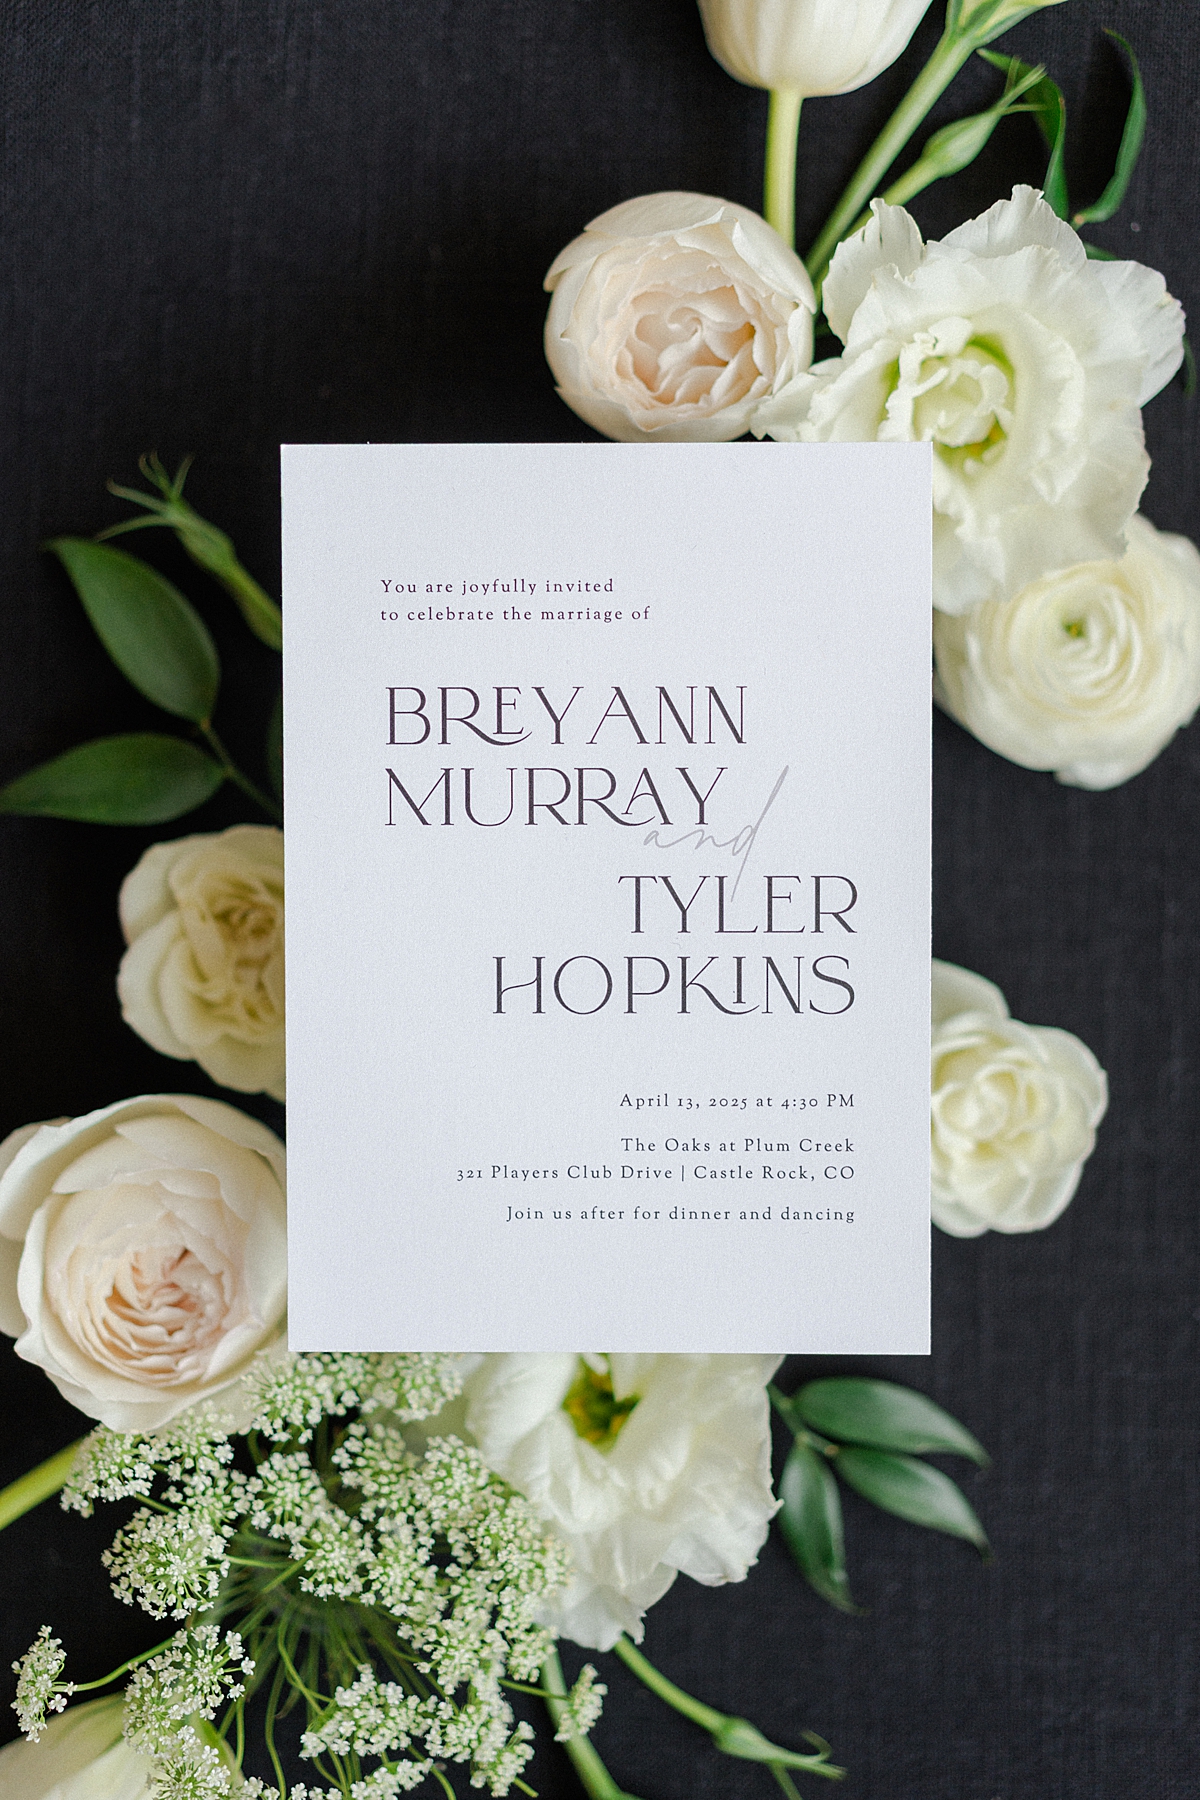
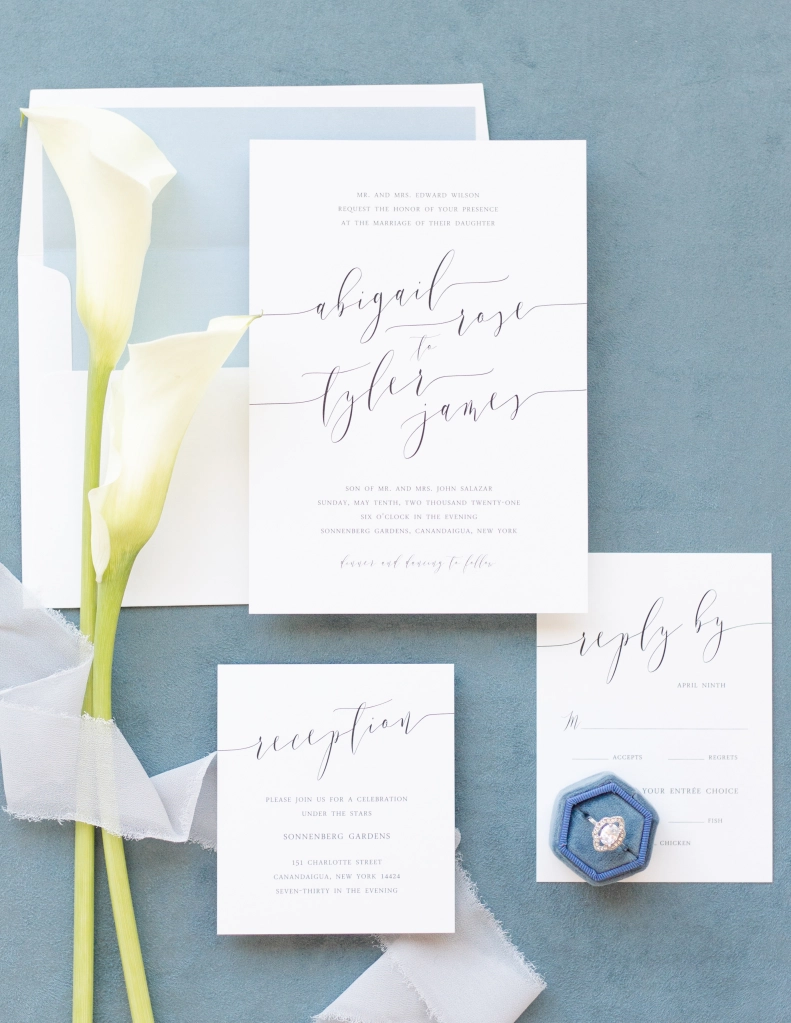
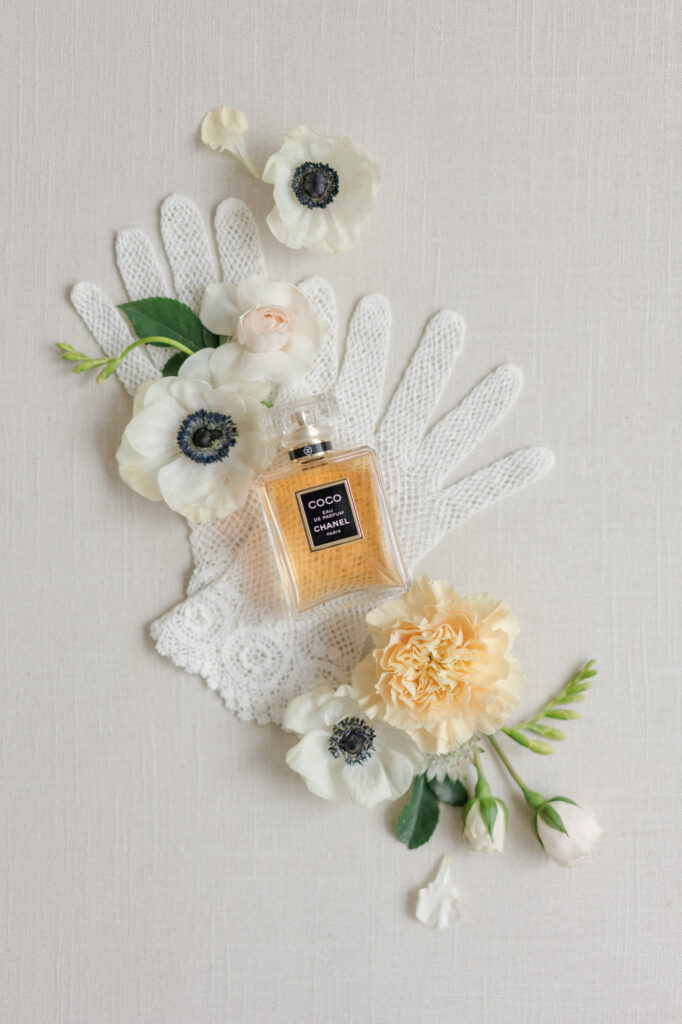
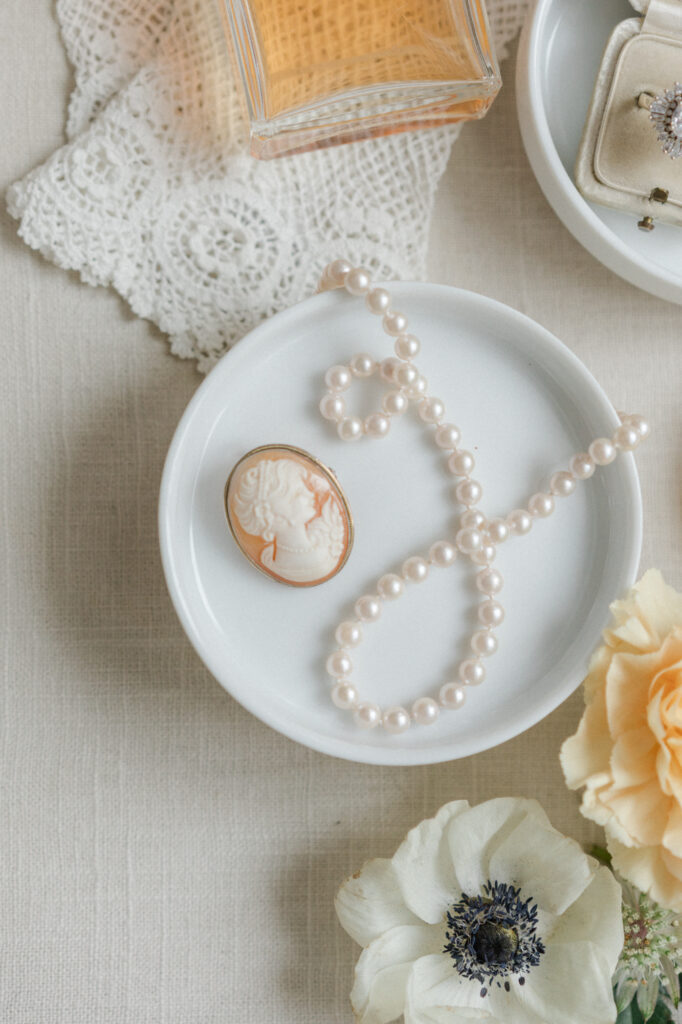
Hi photography friends! Have you wanted to purchase flat lay styling mats for photography and find them pricey? Last summer I wanted to photograph a few wedding details and came up with this idea of how to make your own rollable DIY flatlay styling mat during a brief trip to JoAnn. The best part – with coupons and sales, my recent trip awarded me supplies for 4 mats for under $11 each (at time of writing). I’ve created various options to make these, so it’s easy for both sewers and non-sewers.
Supplies for a DIY Flatlay Styling Mat
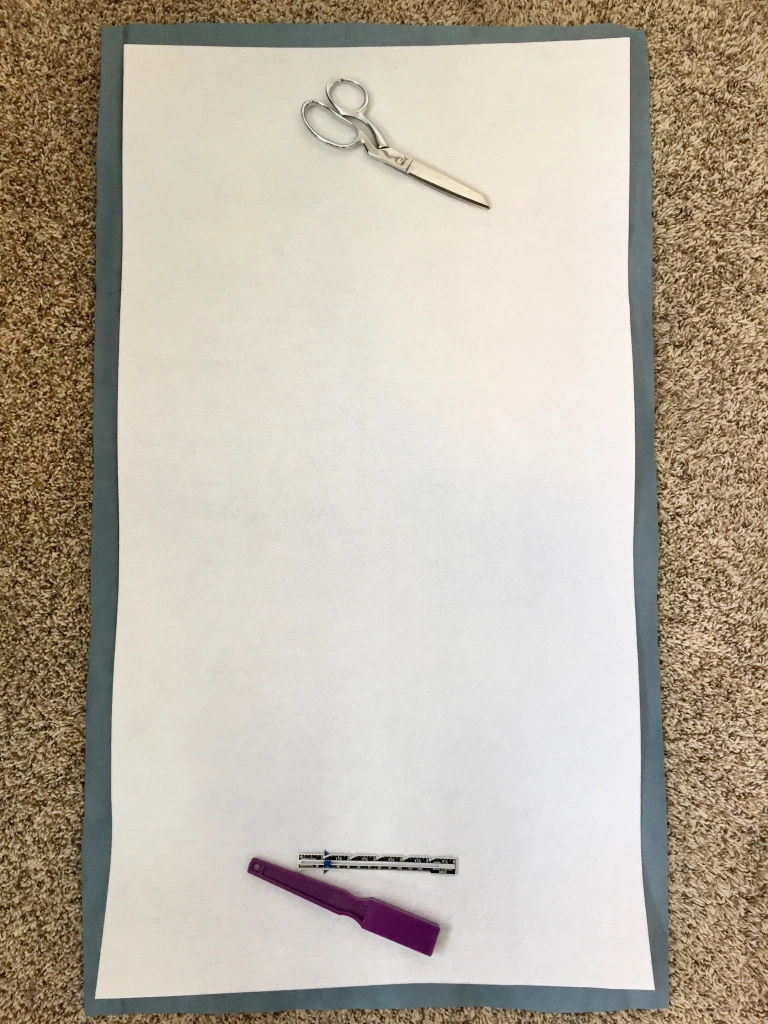
Let’s take a look at supplies for 1 mat (apprx. 20″ x 36″):
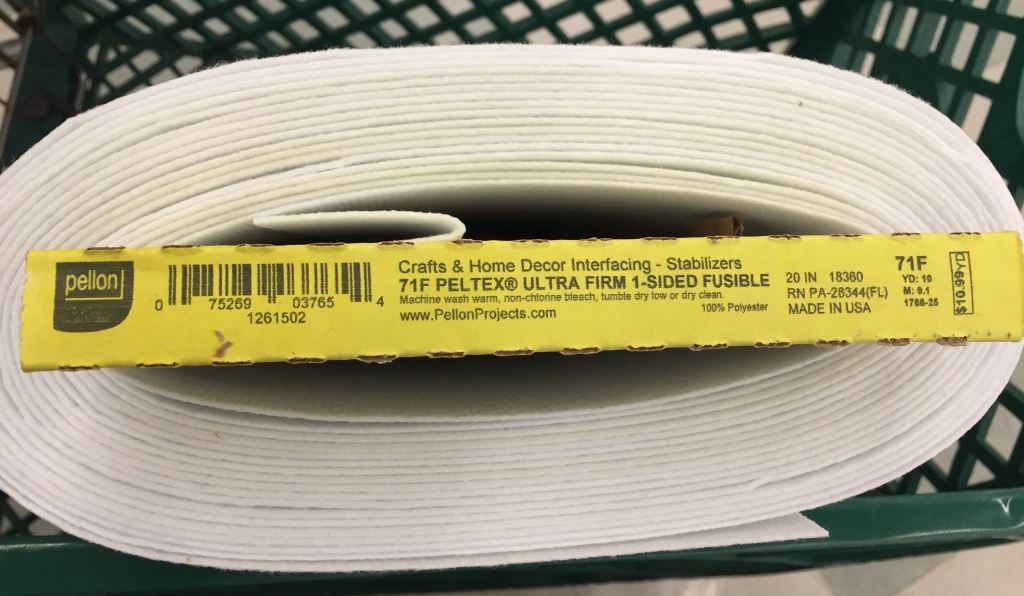
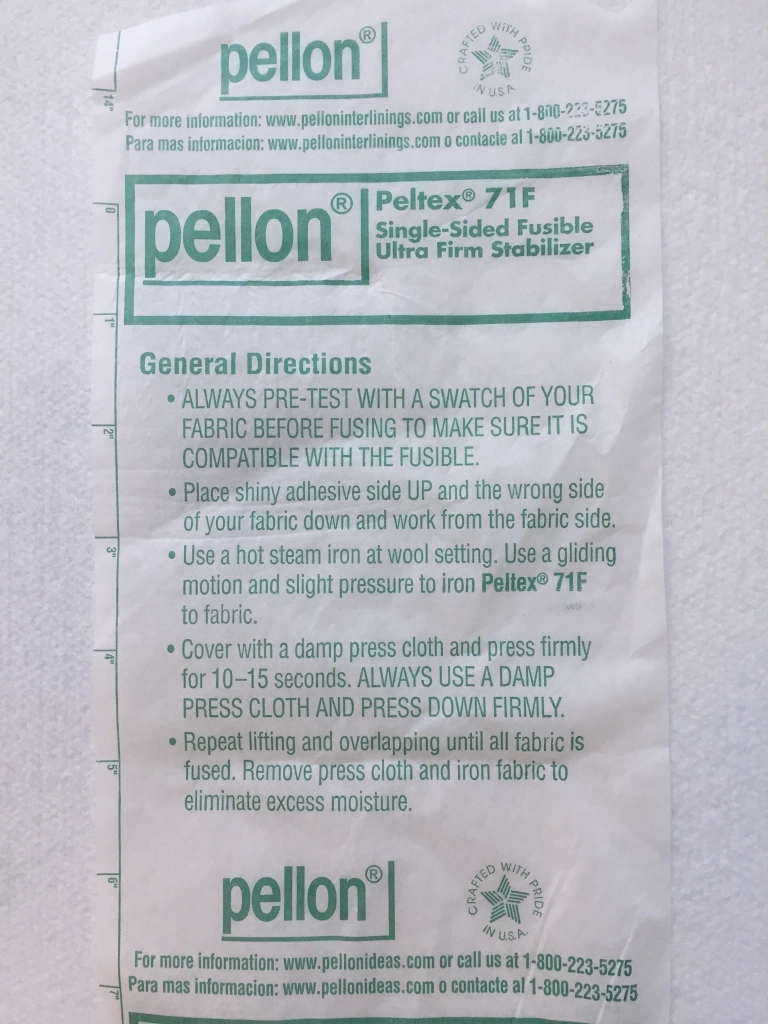
• 1 yard of Pellon 71F Peltex fusible stabilizer (or 72F for double-sided)
• 2/3 yard of fabric
• Scissors
• Iron
• White or light-colored Presscloth (this can be a washcloth)
• Optional: Sewing Machine
• Optional: Pinking sheers
• Optional: E6000 or hot glue gun
• Optional: Stitch Witchery Fusible Bonding Web
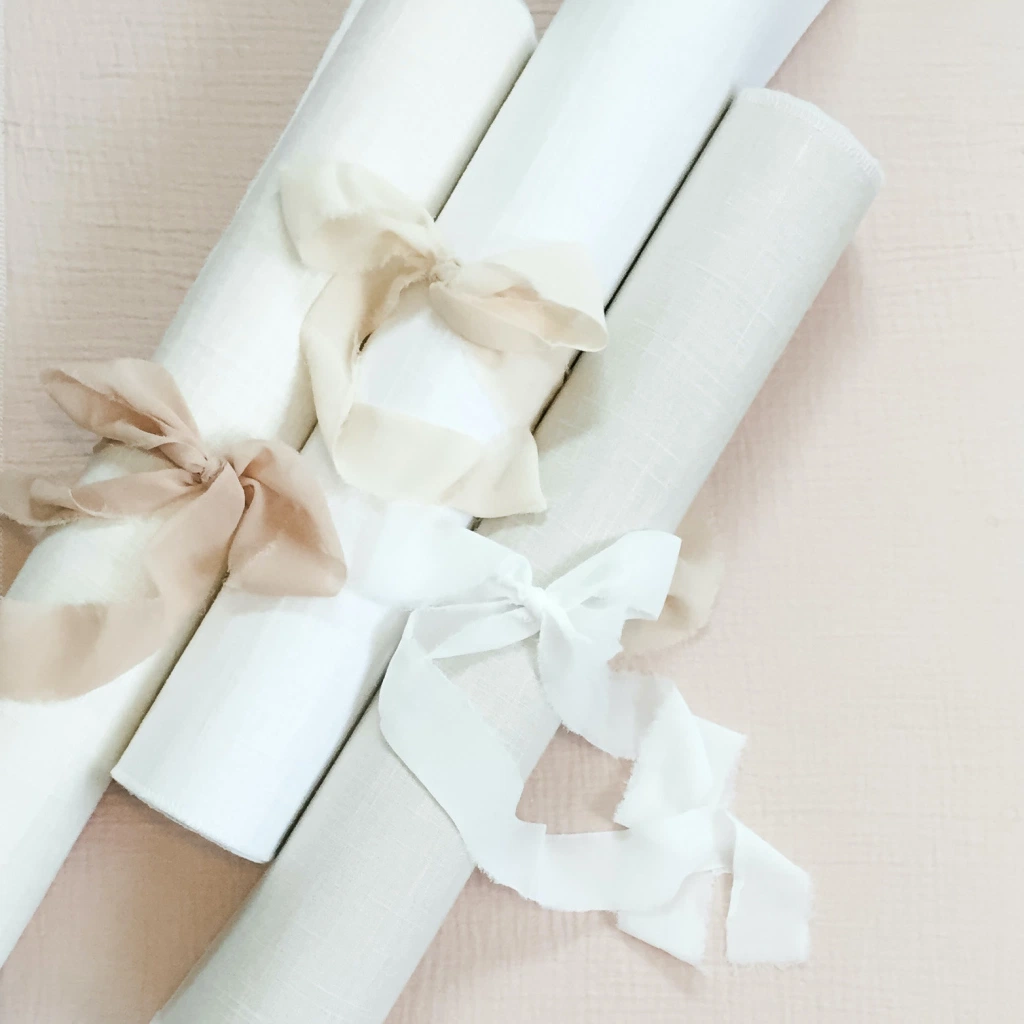
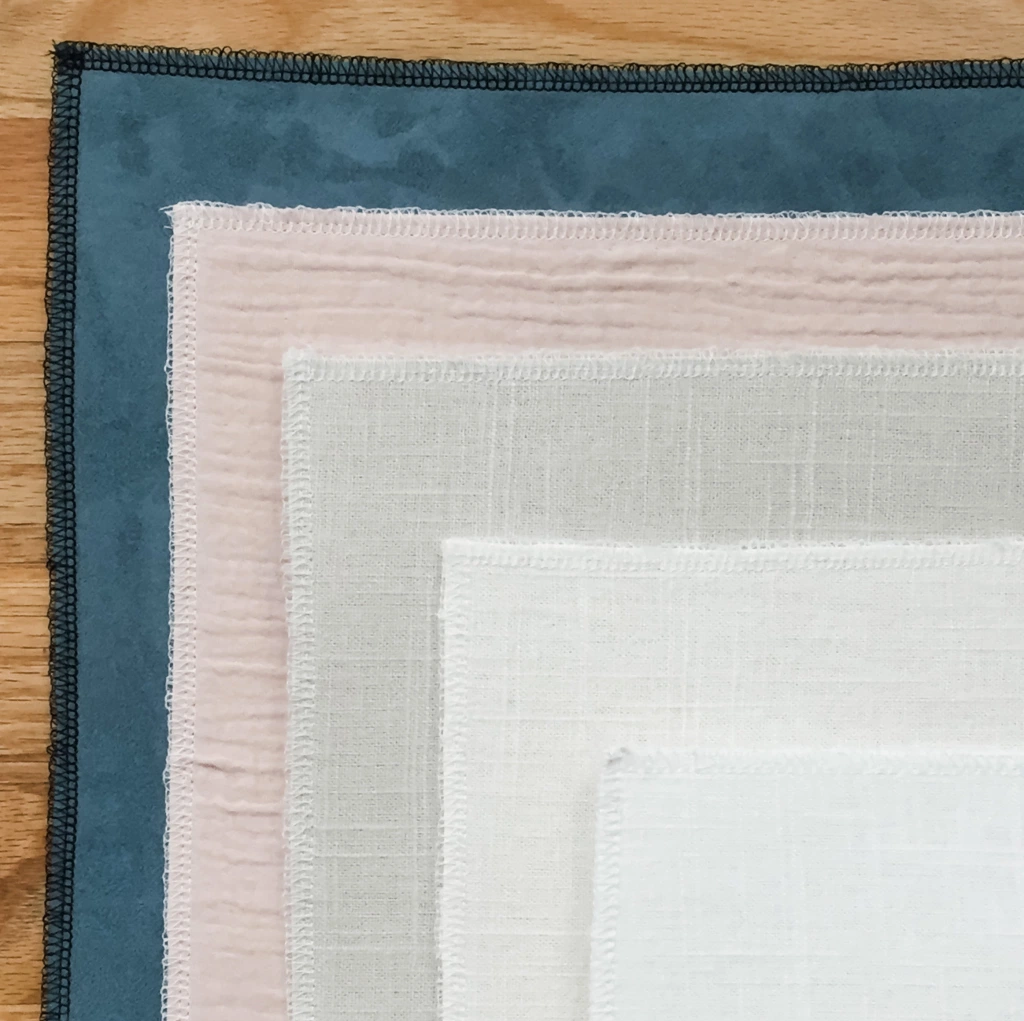
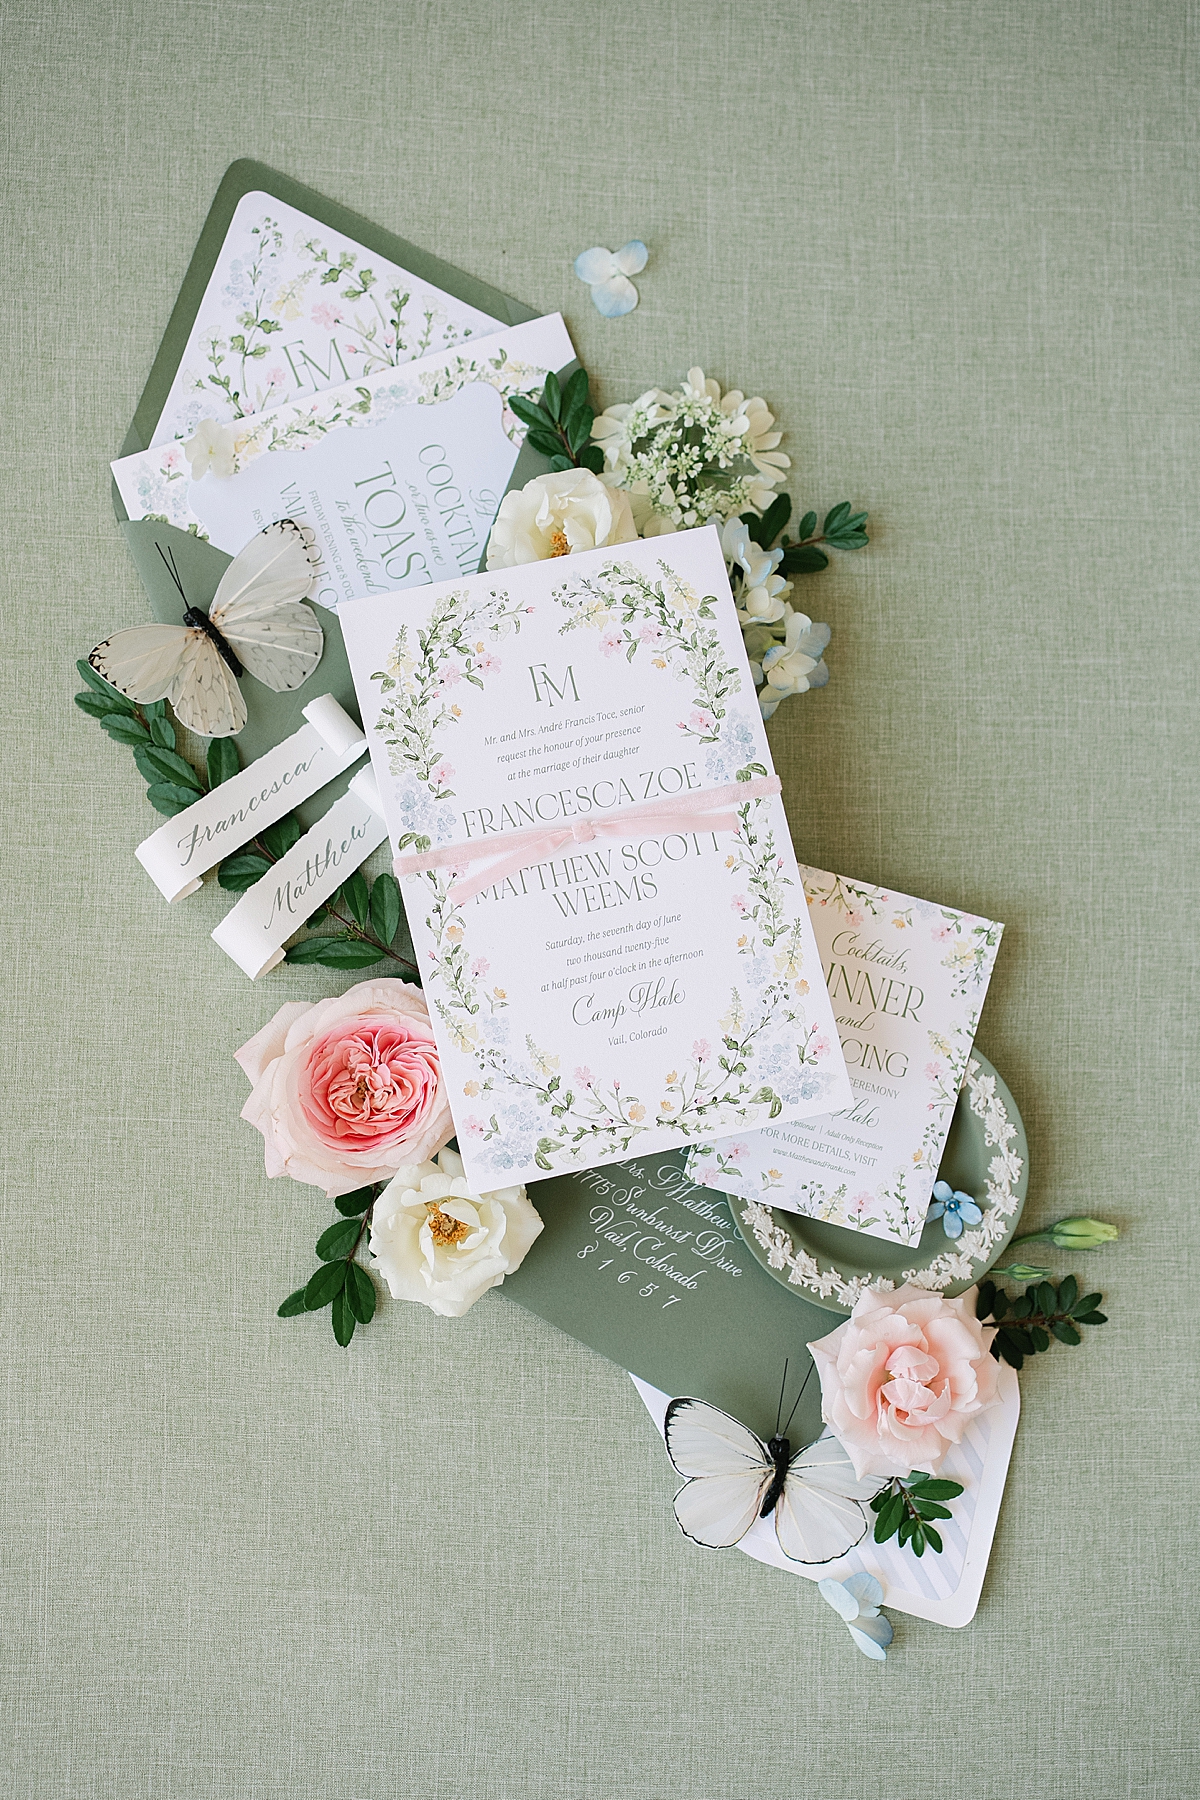
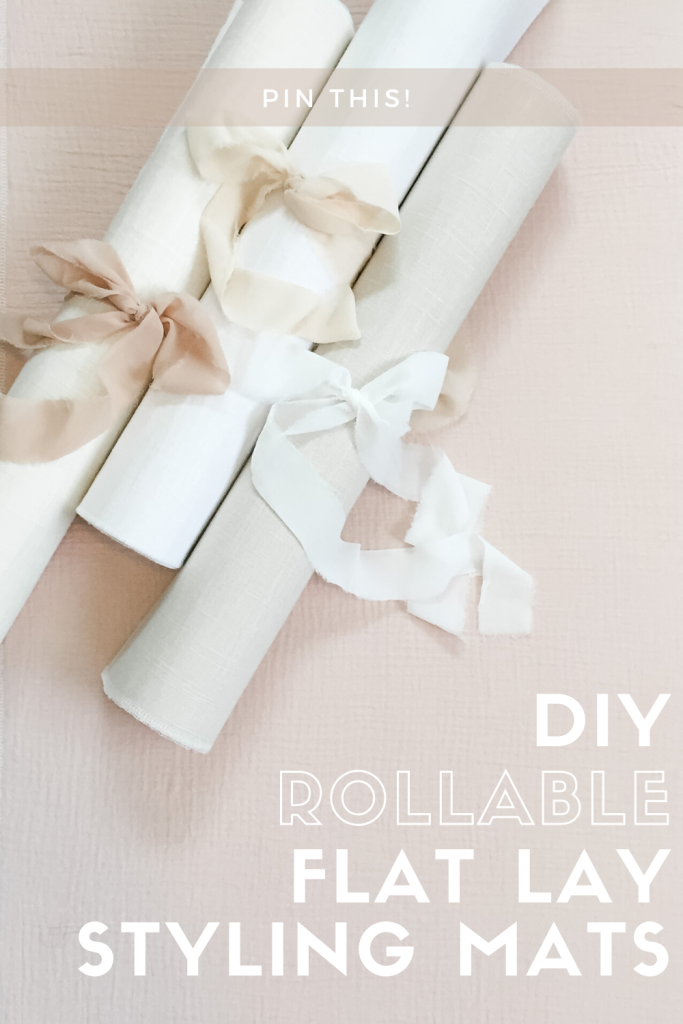
The Pellon 71F is normally $11/yard (at time of writing), so buy when on sale at 50% off or use a coupon. For the fabric I recommend something substantial with texture – linen/linen-look, suede-look, velvet, etc. You don’t want anything too thin, and definitely nothing shiny, like satin. The linen-look hopsack is my favorite and I have three colors, the white, natural, and papyrus. The blue faux suede was found in the home decor fabrics and the pink gauze was an experiment. I wasn’t sure how it would fuse, or if the iron would flatten out all the texture, but it came out great!
For this tutorial, I want to give all the options I can think of so that anyone can DIY their styling mat (both sewers and non-sewers). A couple different methods with various finishing options follow.
2025 UPDATE – with Joann’s closing, I stopped by to pick up more supplies. They were out of both Pellon 71f and 72f, so I tried Pellon 82f. This stabilizer is thinner and double-sided. It worked well for this tutorial, but I’m unsure how it will hold up long-term. To be updated….
METHOD ONE
STEP 1:
Lay out the yard of Pellon onto the fabric. Trim the fabric close to the size of the Pellon.
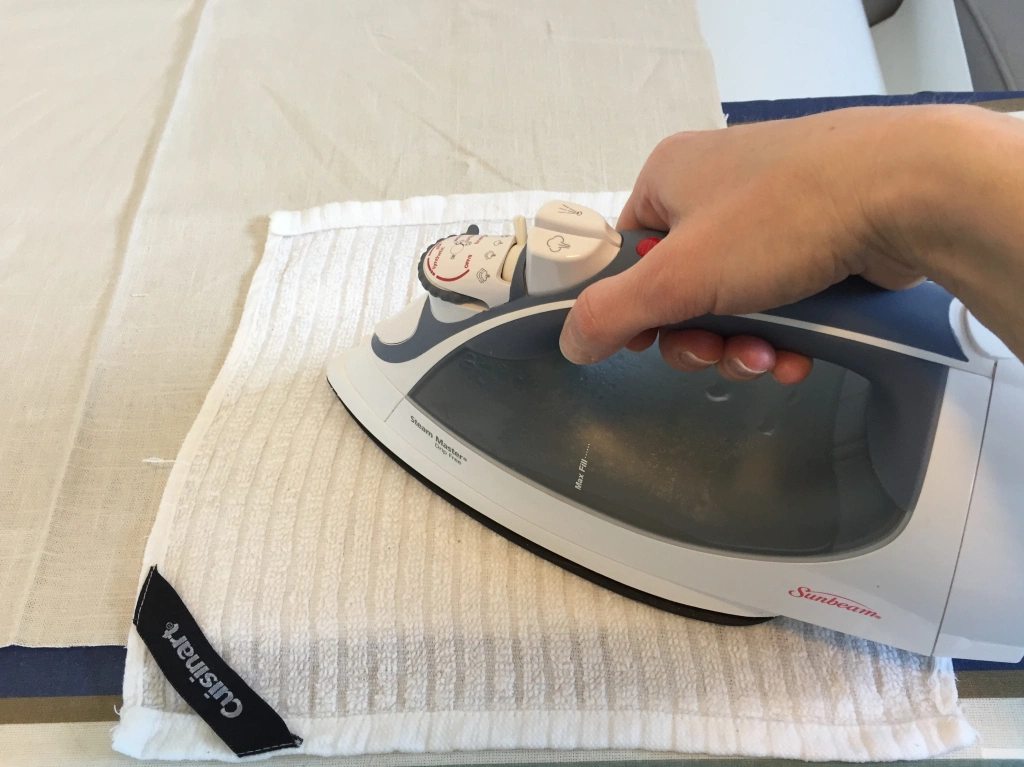
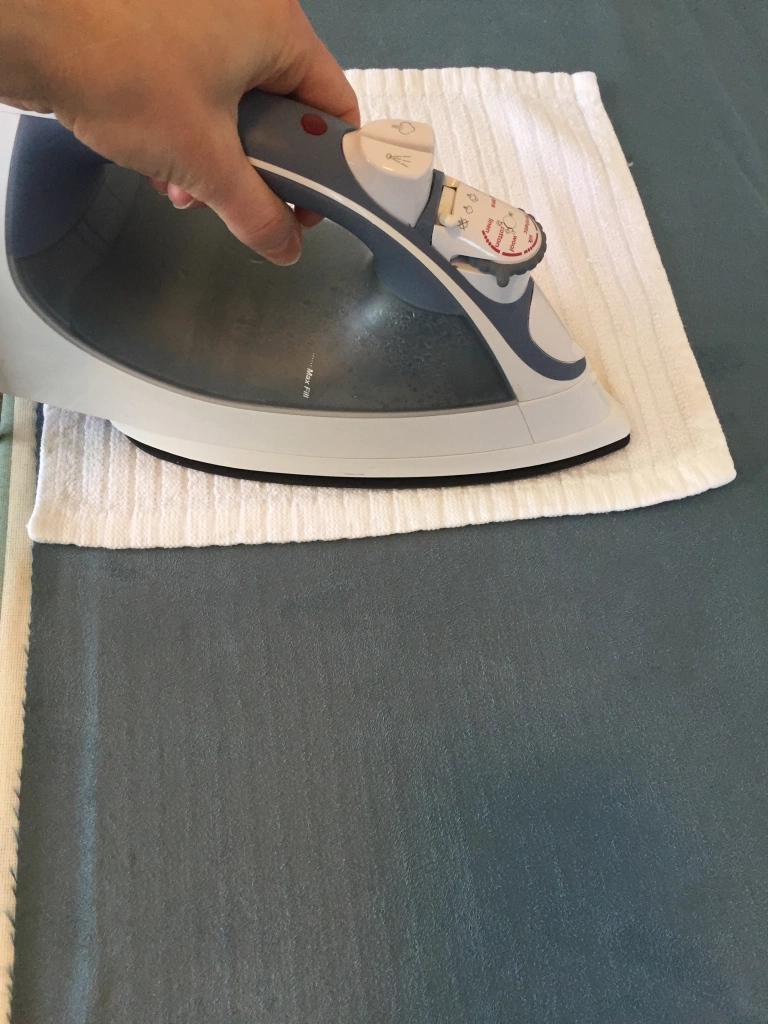
STEP 2:
Place the rough, adhesive side of the Pellon facing up, and align the wrong side of the fabric facing down, touching the Pellon. Follow the Pellon directions for ironing and fusing together. Make sure to iron out any bubbles and ensure the entire fabric is fused to the stabilizer.
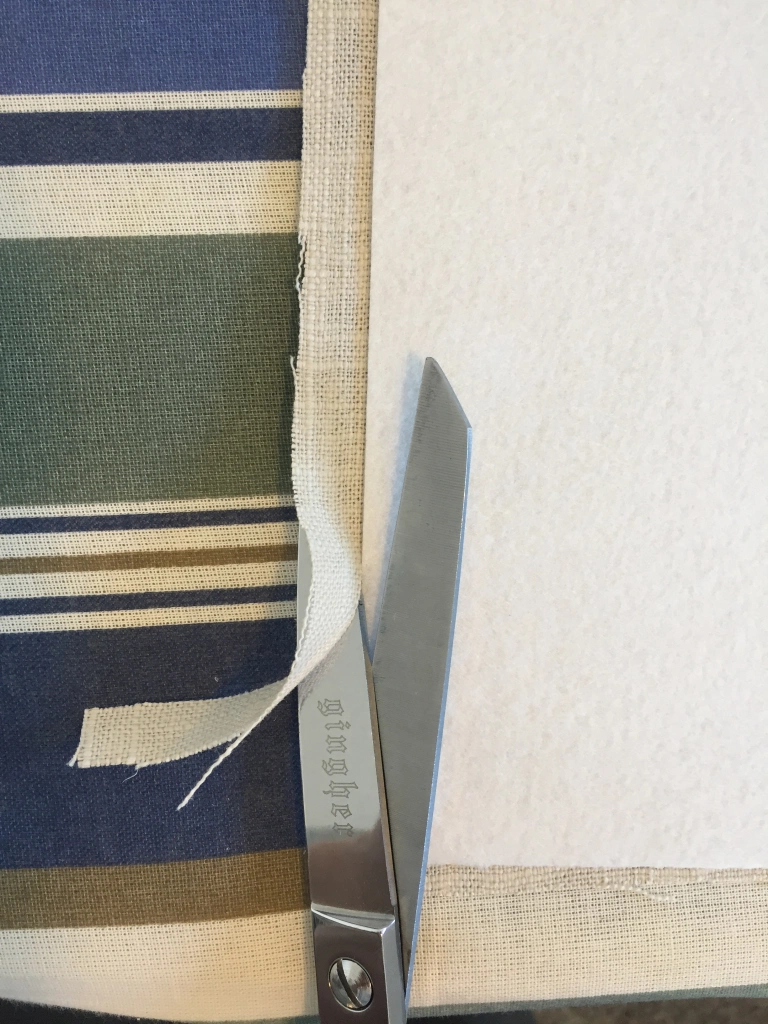
STEP 3:
Trim any excess material.

Options for finishing edges for DIY Flatlay Styling Mat Method One:
OPTION 1:
Simplest and easiest, if raw edges don’t bother you, then you’re finished!
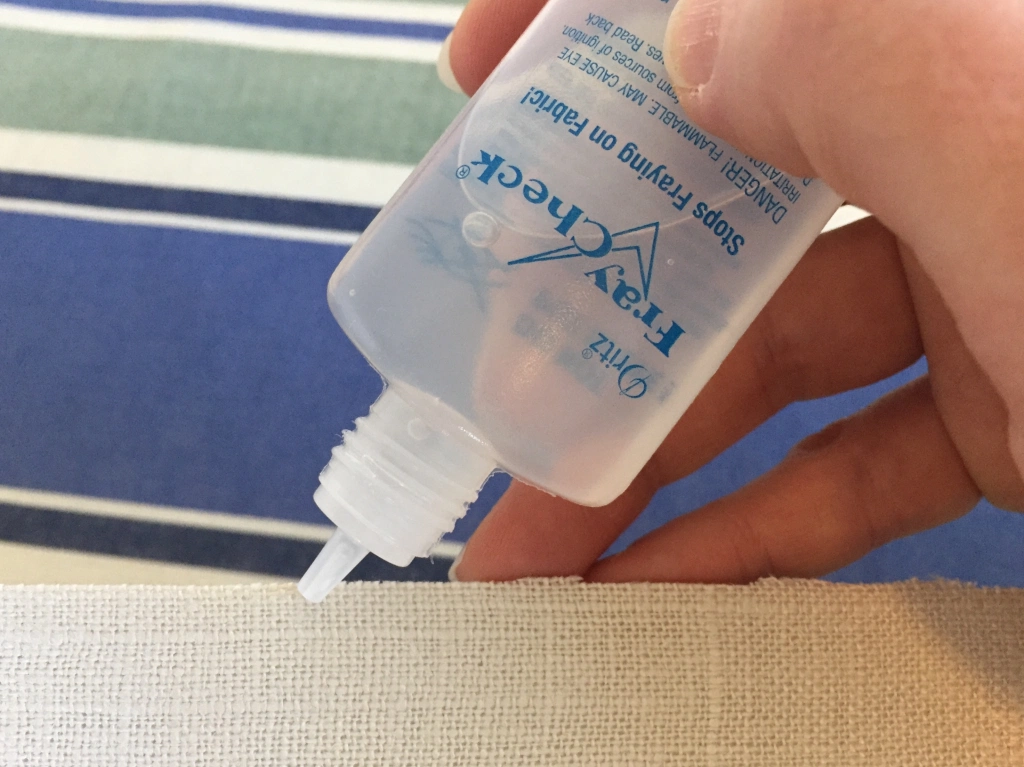
OPTION 2:
For NO-SEW, add Fray Check around the edges to prevent any fraying.
OPTION 3:
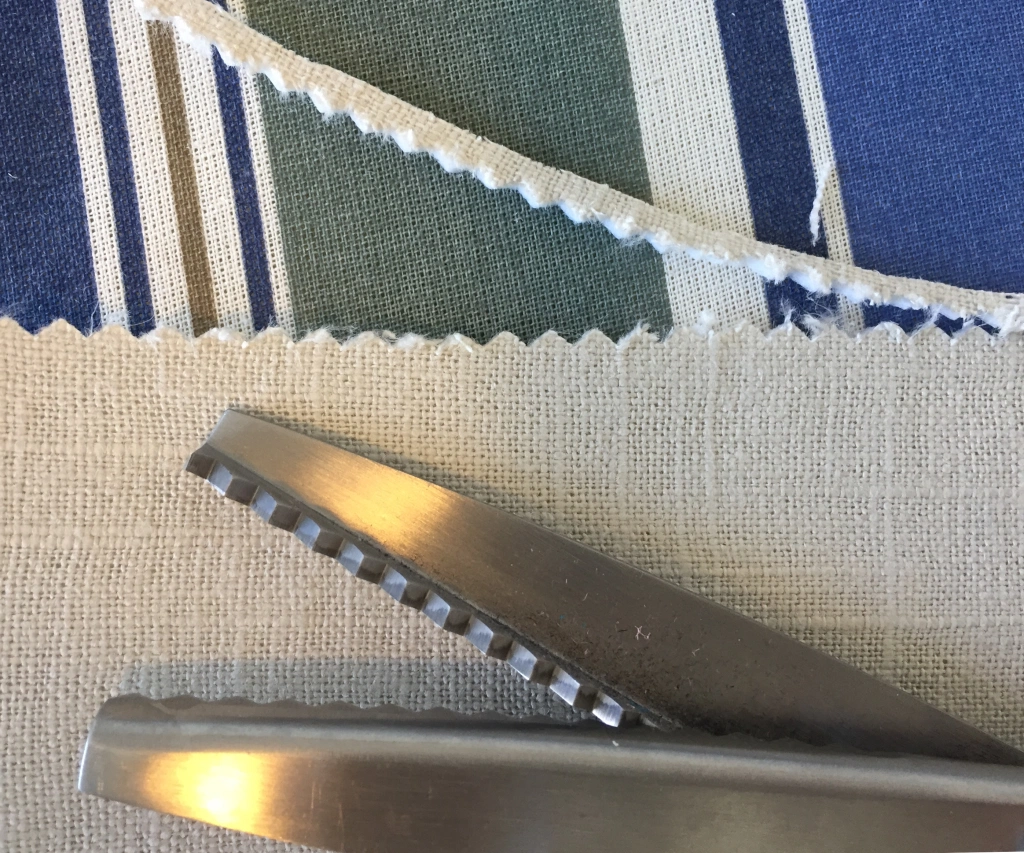
For NO-SEW, use pinking sheers to cut the edges to reduce fraying.
OPTION 4:
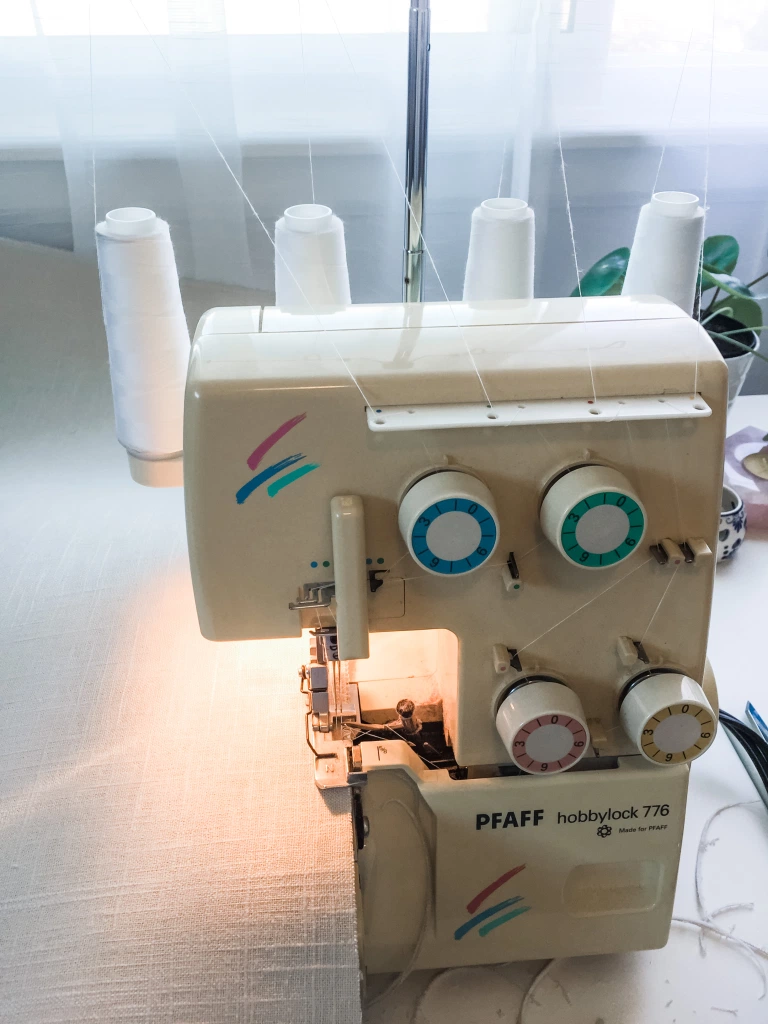
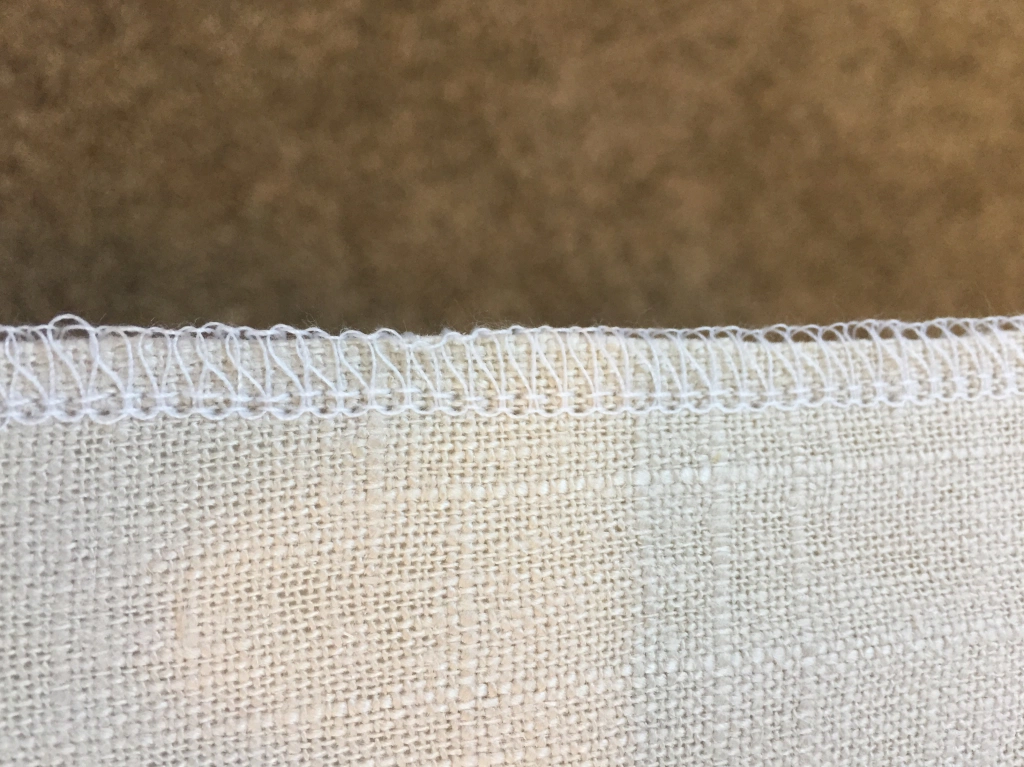
Finish the edges with a serger – this is what I do. Though I realize most people do not have this specialized sewing machine, I love it to finish raw edges.
Method Two
STEP 1:
Lay out the yard of Pellon onto the fabric. Trim the fabric to the size of the Pellon plus 1 additional inch on each side.
STEP 2:
Place the rough, adhesive side of the Pellon facing up, and center the wrong side of the fabric facing down, touching the Pellon. Follow the Pellon directions for ironing and fusing together. Make sure to iron out any bubbles and ensure the entire fabric is fused to the stabilizer.
Options for finishing edges for DIY Flatlay Styling Mat Method Two:
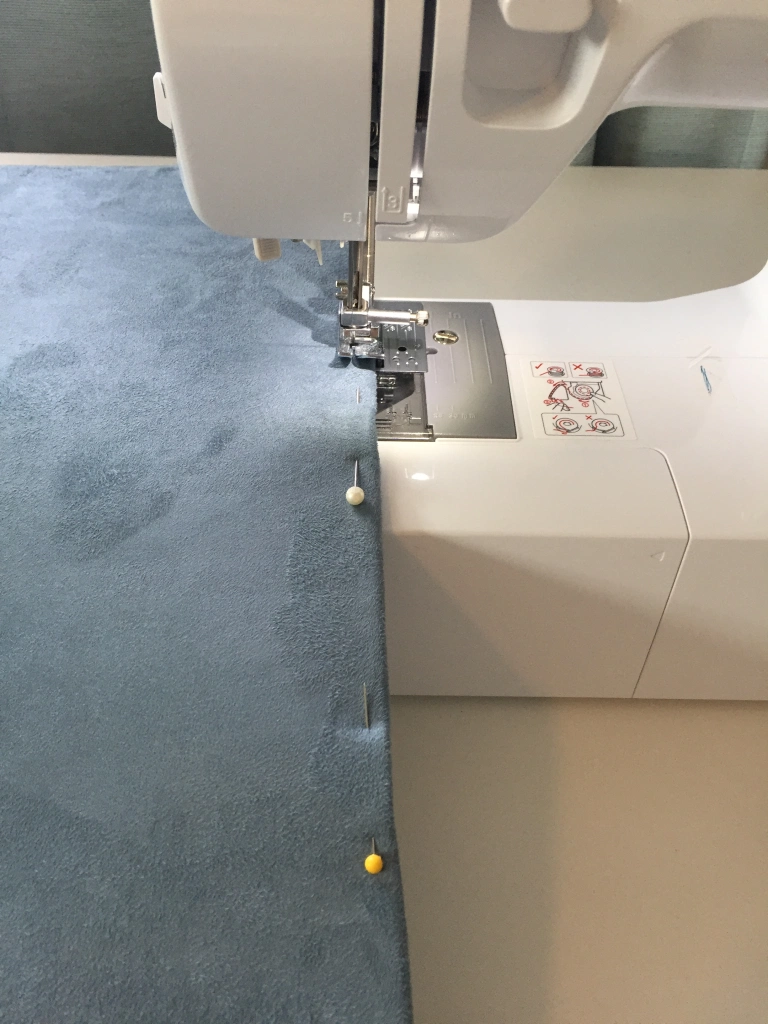
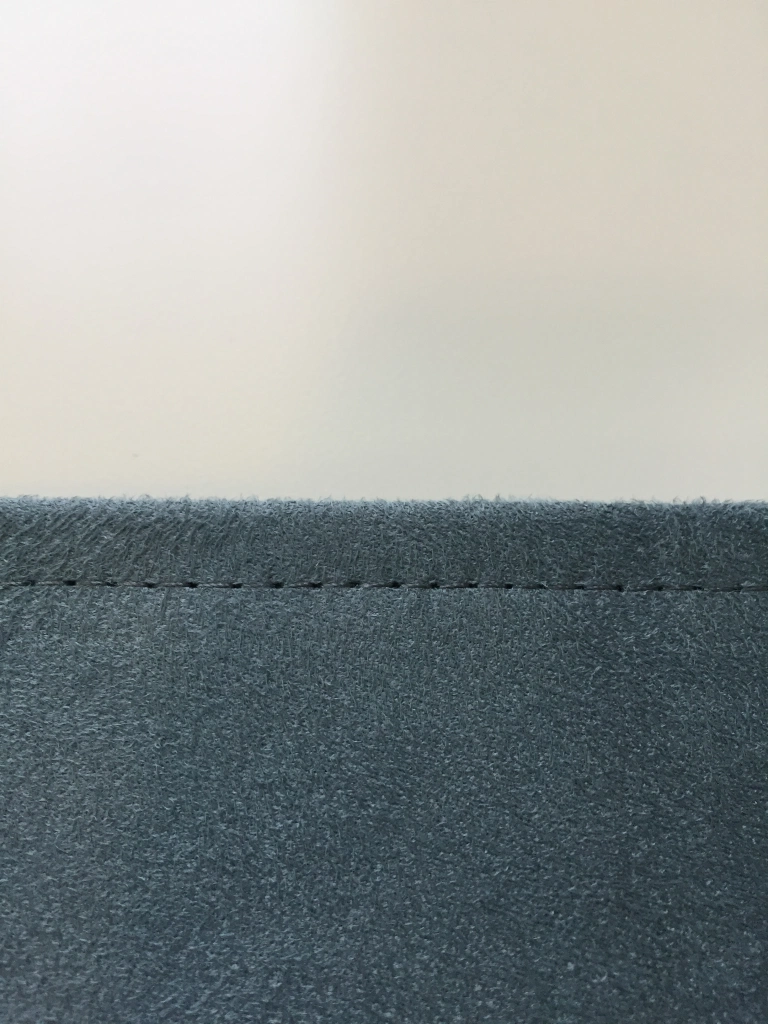
OPTION 1:
Fold over the excess material on each edge and topstitch with a regular sewing machine.
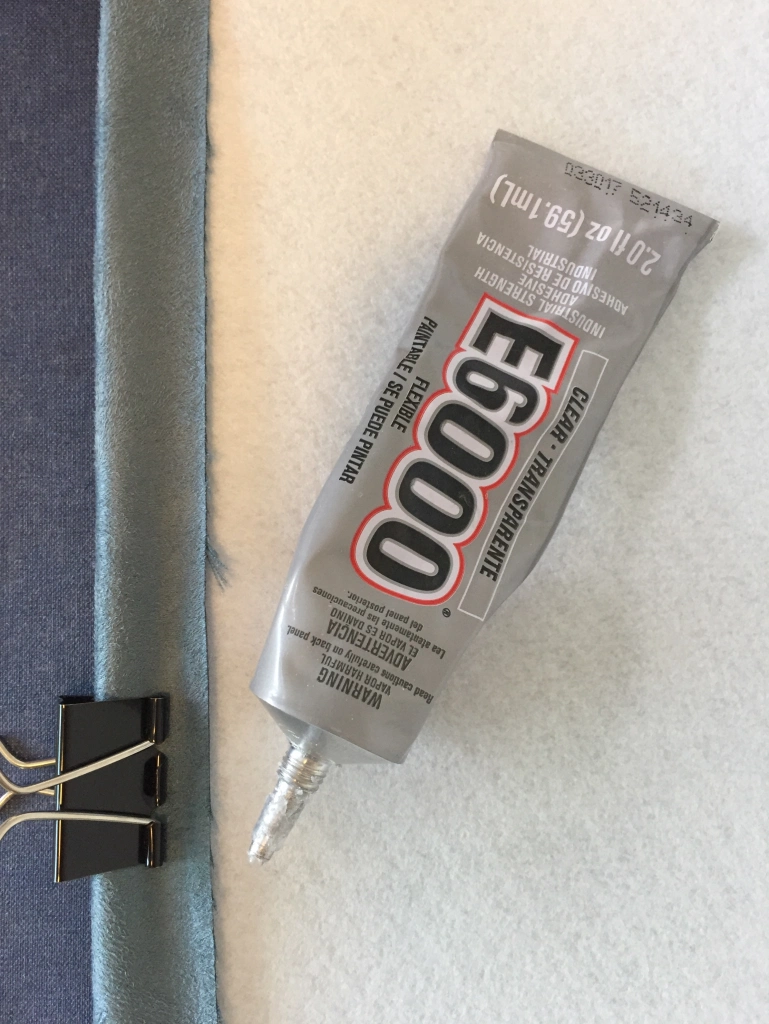
OPTION 2:
For NO-SEW, use E-6000 to glue the edges in place and secure with clips while drying. Alternatively, a hot glue gun would work, as well.
OPTION 3:
For NO-SEW, use Stitch Witchery to iron the edges in place.
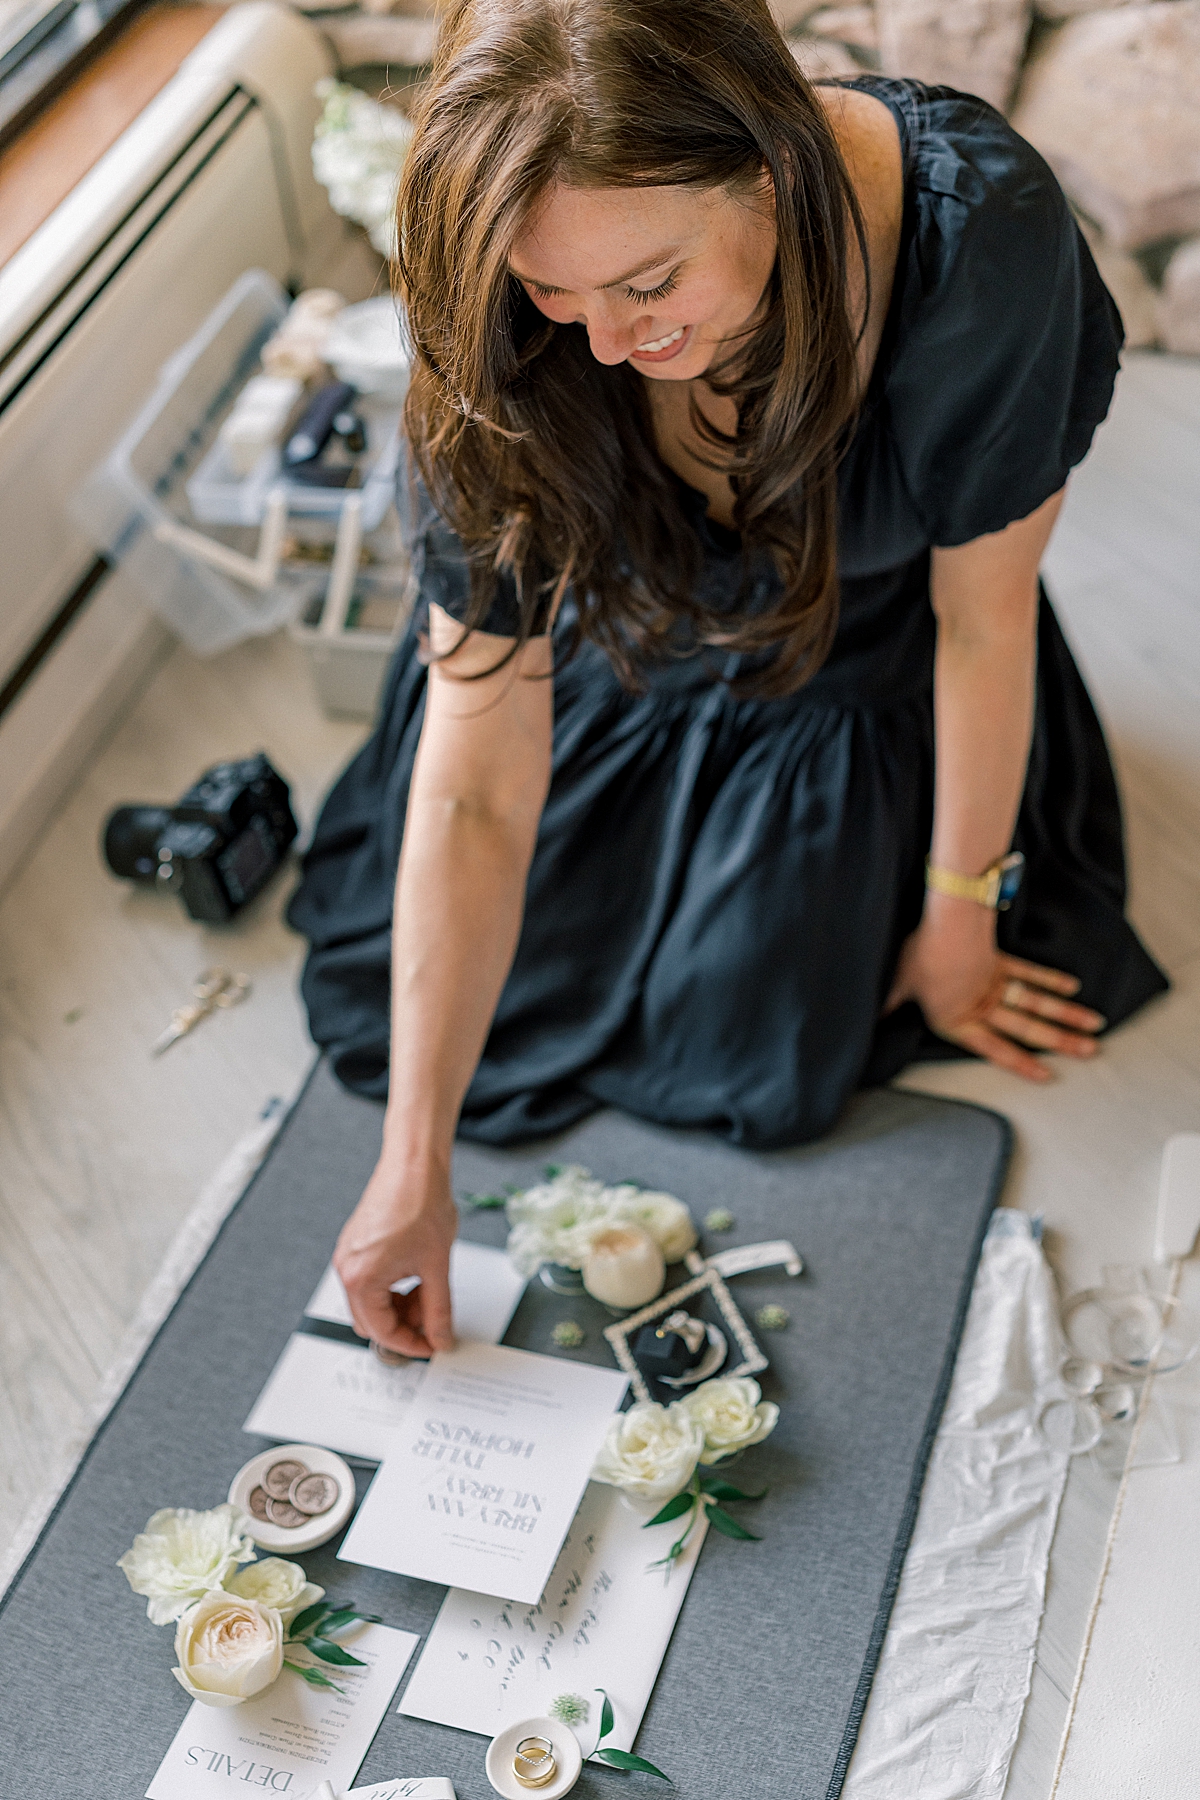
It’s that easy – each one takes me about 20 minutes from cutting, ironing, to serging. The finished size is approximately 20 inches by 36 inches. If you make your own, I’d absolutely love to see it. Please tag me on social media to so I can see your awesome flat lay mat creations!

If you have any questions about making your DIY flatlay styling mat, contact me here!


+ Comments