mary ann craddock

Inquire 

arrow

colorado and destination

FINE ART FILM WEDDING PHOTOGRAPHY

DIY Flatlay Styling Mat – Make an Affordable Rollable Mat!

DIY

March 12, 2020

Learn more

I'm so happy you're here. This blog a journal about my photography, travels, and diy projects. Stay a while and say hello!

Hi, I'm Mary Ann.

arrow

The macp Wedding day guide

Planning out your wedding day is a lot of work! This guide will give you one of my example timelines. As the seasons change, so does your timeline. I am more than happy to help!

DOWNLOAD

FREE DOWNLOAD

Hi photography friends! Have you wanted to purchase flat lay styling mats for photography and find them pricey? Last summer I wanted to photograph a few wedding details and came up with this idea of how to make your own rollable DIY flatlay styling mat during a brief trip to JoAnn. The best part – they are so cheap. Like soooo cheap. With coupons and sales, my recent trip awarded me supplies for 4 mats for under $11 each (at time of writing). Yes, under $11 per mat! I’ve created various options to make these, so it’s easy for both sewers and non-sewers.
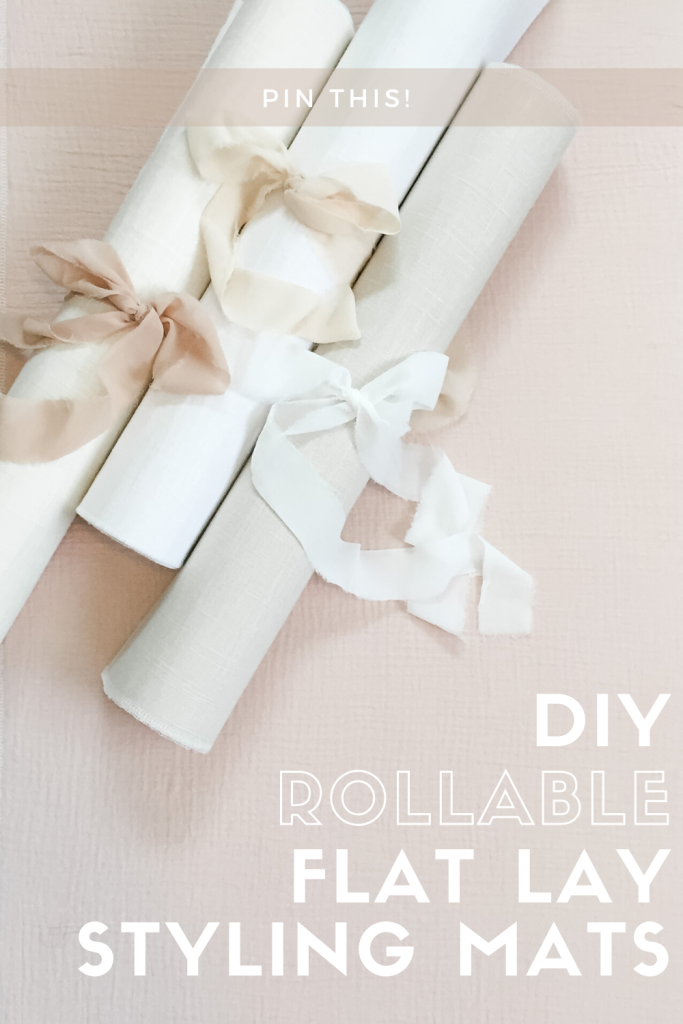
DIY Flatlay Mat Tutorial
diy flatlay styling mat

Let’s take a look at supplies for 1 mat (apprx. 20″ x 36″):

โ€ข 1 yard of Pellon 71F Peltex fusible stabilizer

โ€ข 2/3 yard of fabric

โ€ข Scissors

โ€ข Iron

โ€ข White or light-colored Presscloth (this can be a washcloth)

โ€ข Fray Check

โ€ข Optional: Sewing Machine

โ€ข Optional: Pinking sheers

โ€ข Optional: E6000 or hot glue gun

โ€ข Optional: Stitch Witchery Fusible Bonding Web

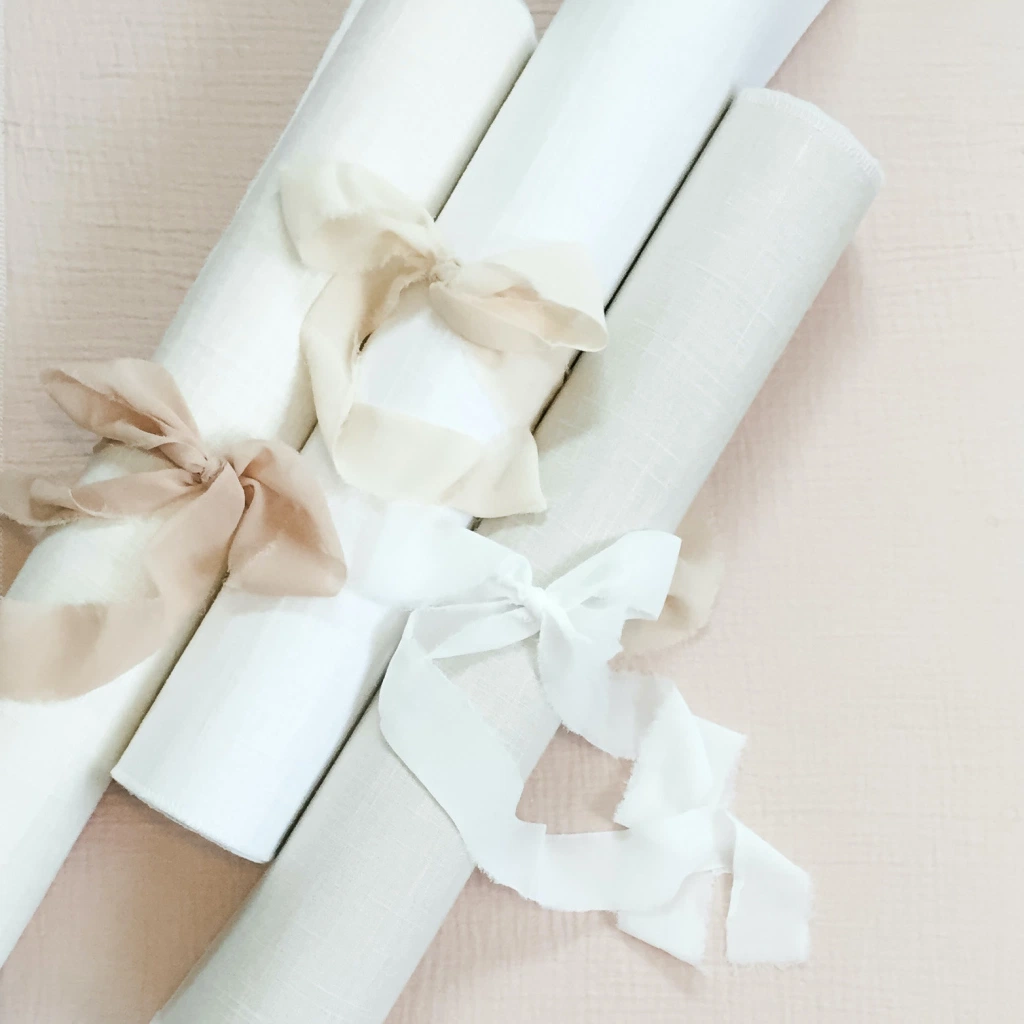
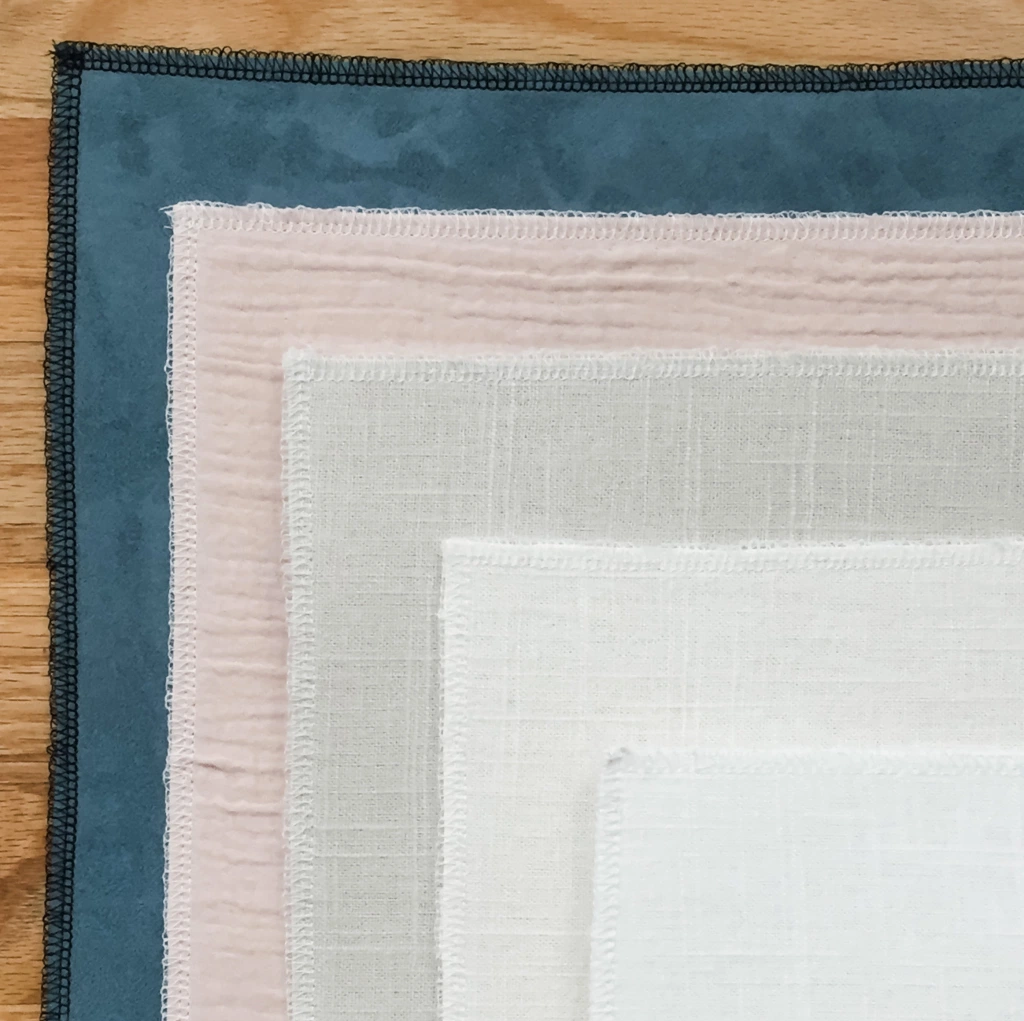
The Pelon 71F is normally $11/yard, so buy when on sale at 50% off or use a coupon. For the fabric I recommend something substantial with texture – linen/linen-look, suede-look, velvet, etc. You don’t want anything too thin, and definitely nothing shiny, like satin. The linen-look hopsack is my favorite and I have three colors, the white, natural, and papyrus. The blue faux suede was found in the home decor fabrics (absolutely love how that turned out) and the pink gauze was an experiment. I wasn’t sure how it would fuse, or if the iron would flatten out all the texture, but it came out great!

For this tutorial, I want to give all the options I can think of so that anyone can DIY their styling mat (both sewers and non-sewers). A couple different methods with various finishing options follow.
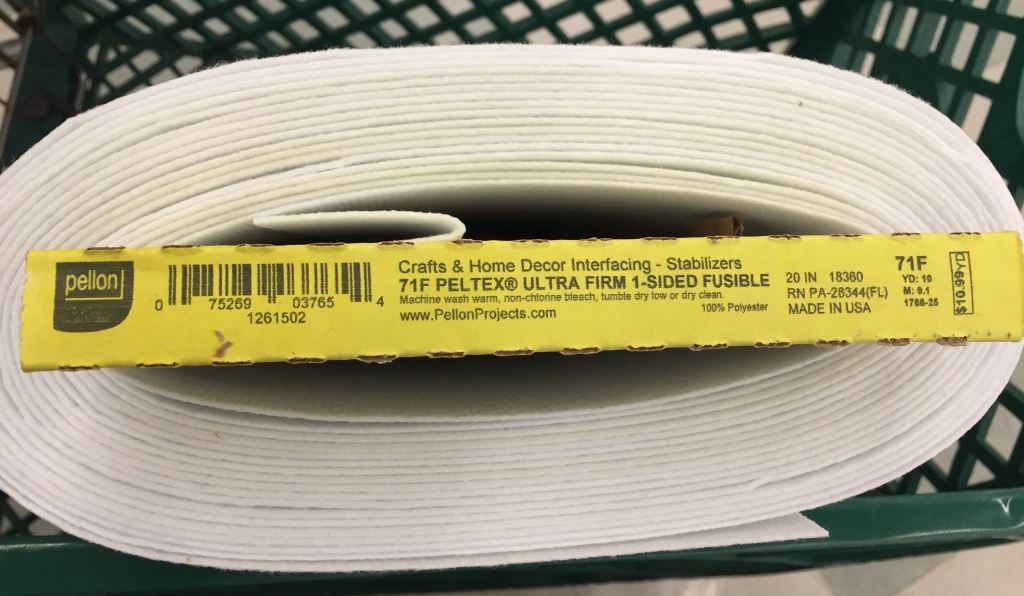
diy flatlay styling mat materials
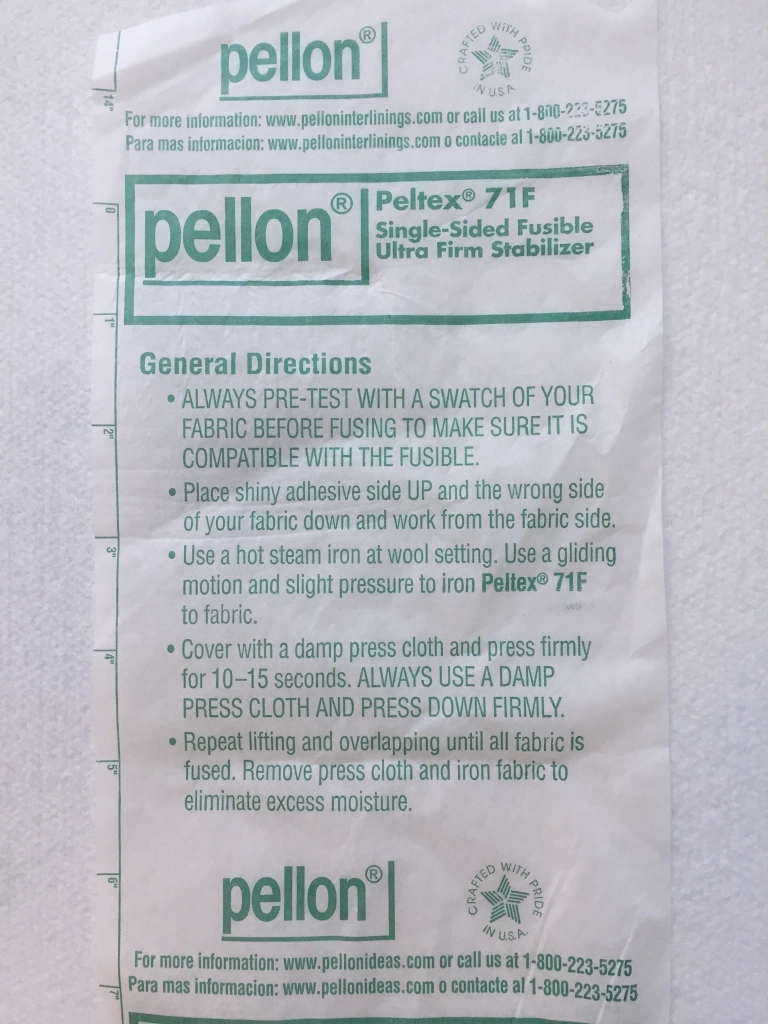
This is what the bolt of Pellon 71F Peltex Fusible Stabilizer looks like

METHOD ONE

Step 1:

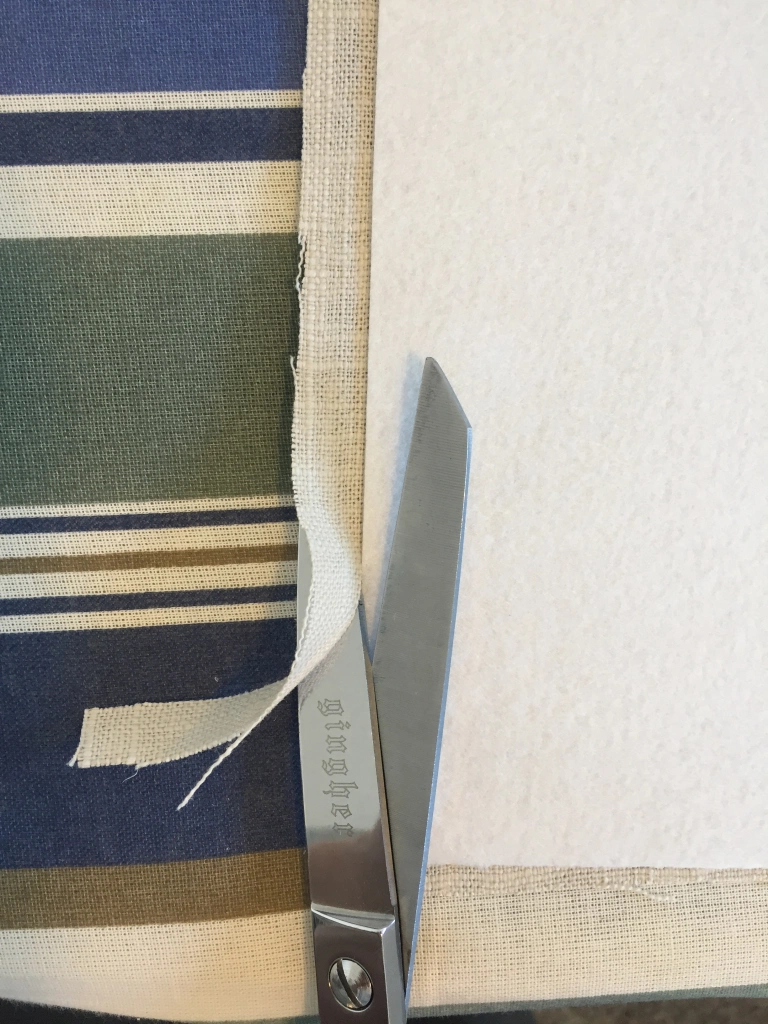
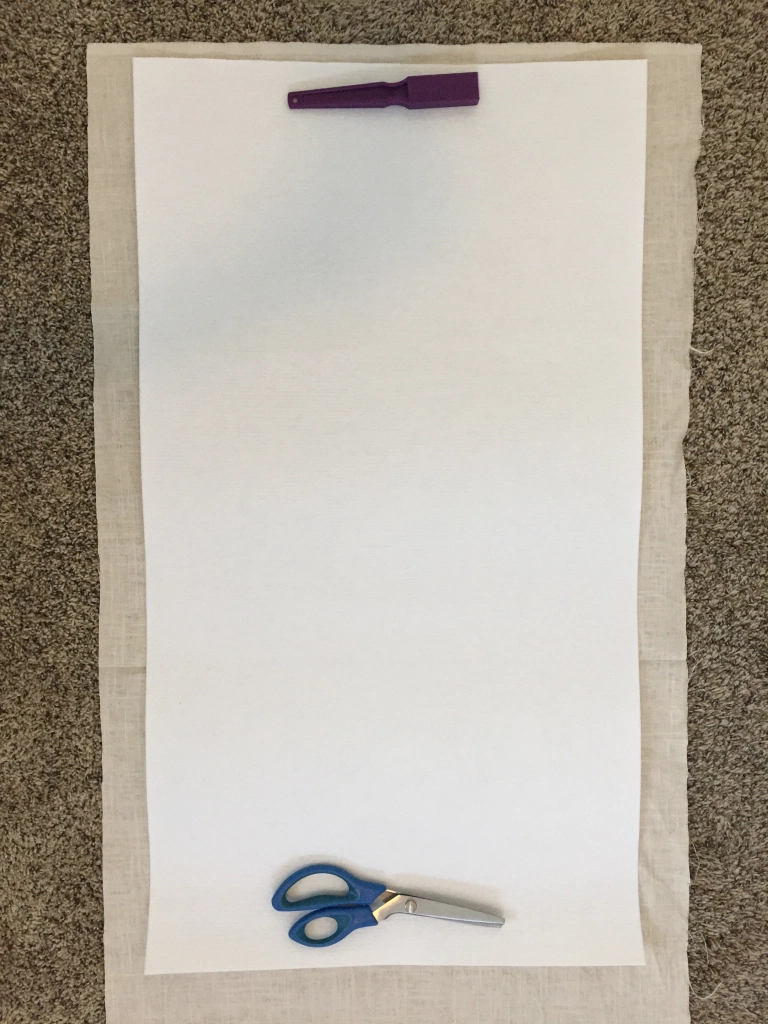
Lay out the yard of Pellon onto the fabric. Trim the fabric to the size of the Pellon.

Step 2:

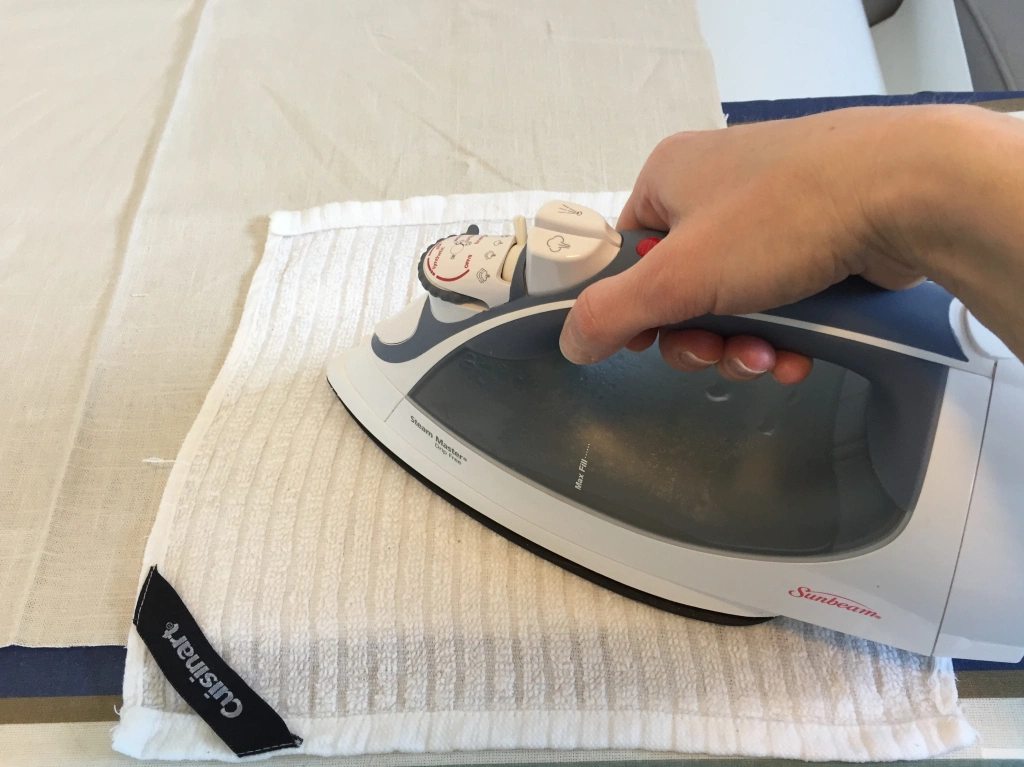
Place the rough, adhesive side of the Pellon facing up, and align the wrong side of the fabric facing down, touching the Pellon. Follow the Pellon directions for ironing and fusing together. Make sure to iron out any bubbles and ensure the entire fabric is fused to the stabilizer.

Step 3:

Trim any excess material.
Options for finishing edges for Method One:

Option 1:

Simplest and easiest, if raw edges don’t bother you, then you’re finished!

Option 2:

For NO-SEW, add Fray Check around the edges to prevent any fraying.

Option 3:

For NO-SEW, use pinking sheers to cut the edges to reduce fraying.

Option 4:

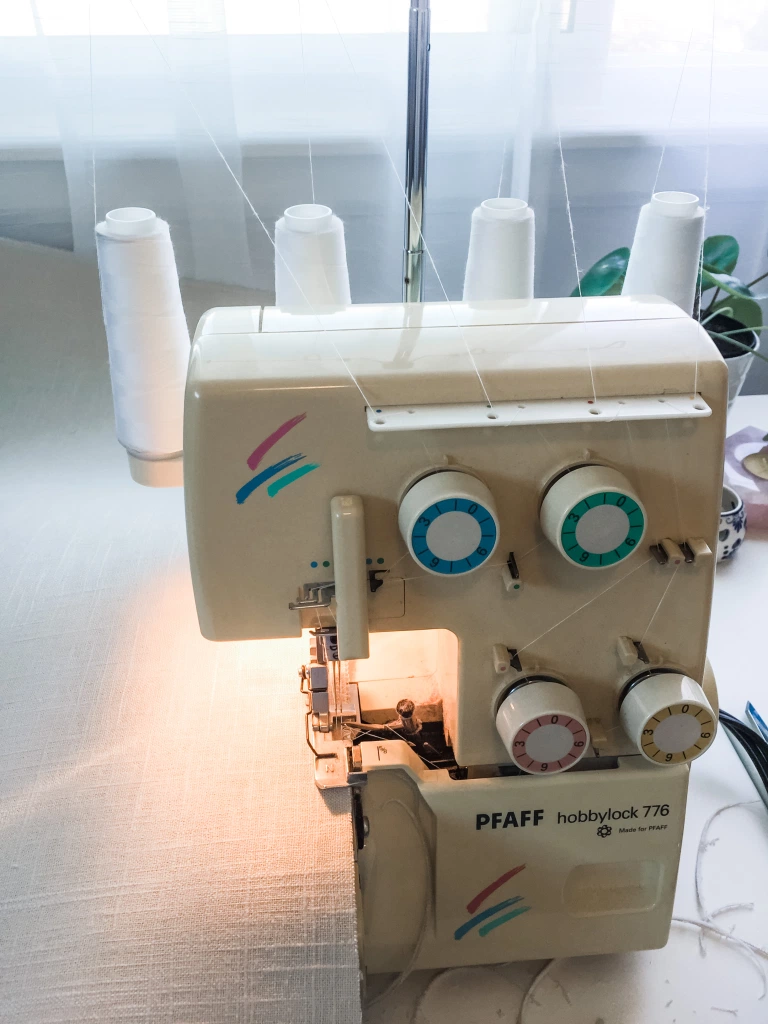
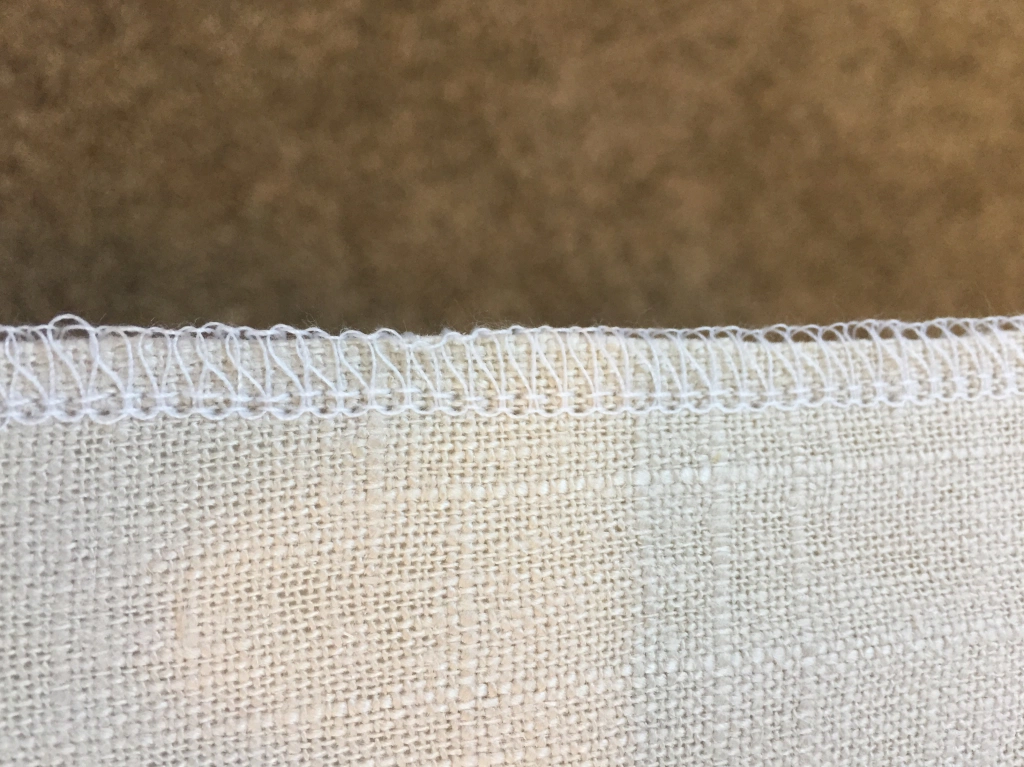
Finish the edges with a serger – this is what I do. Though I realize most people do not have this specialized sewing machine, I love it to finish raw edges.
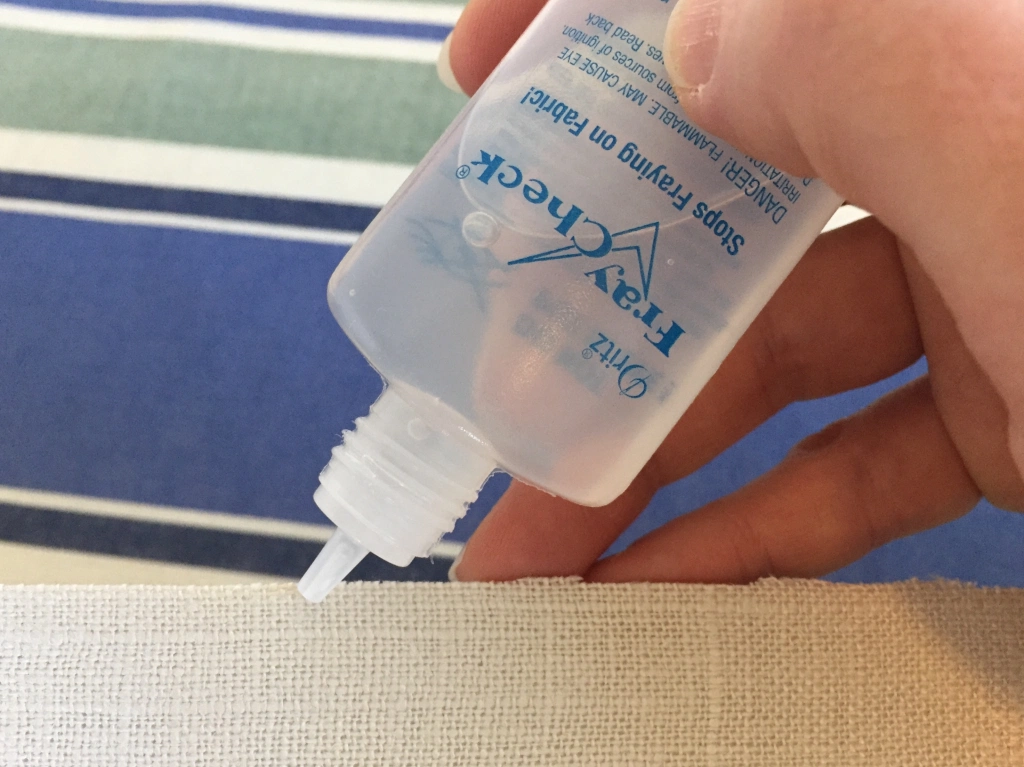
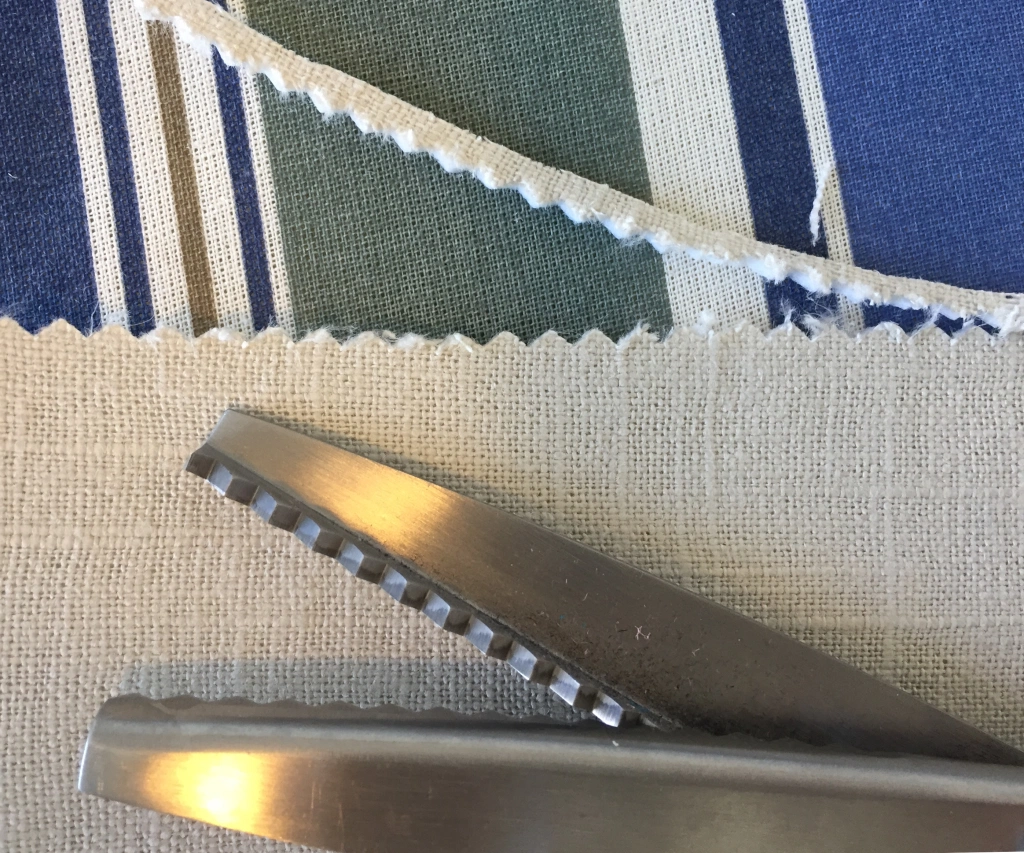
METHOD TWO

Step 1:

Lay out the yard of Pellon onto the fabric. Trim the fabric to the size of the Pellon plus 1 additional inch on each side.

Step 2:

Place the rough, adhesive side of the Pellon facing up, and center the wrong side of the fabric facing down, touching the Pellon. Follow the Pellon directions for ironing and fusing together. Make sure to iron out any bubbles and ensure the entire fabric is fused to the stabilizer.
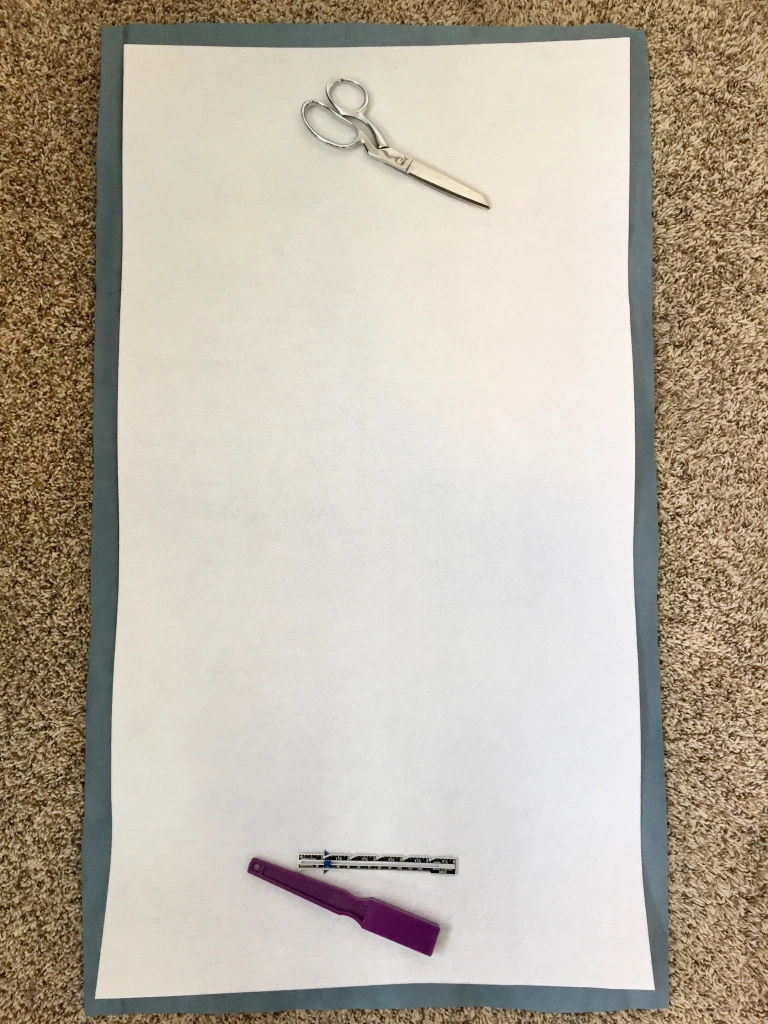
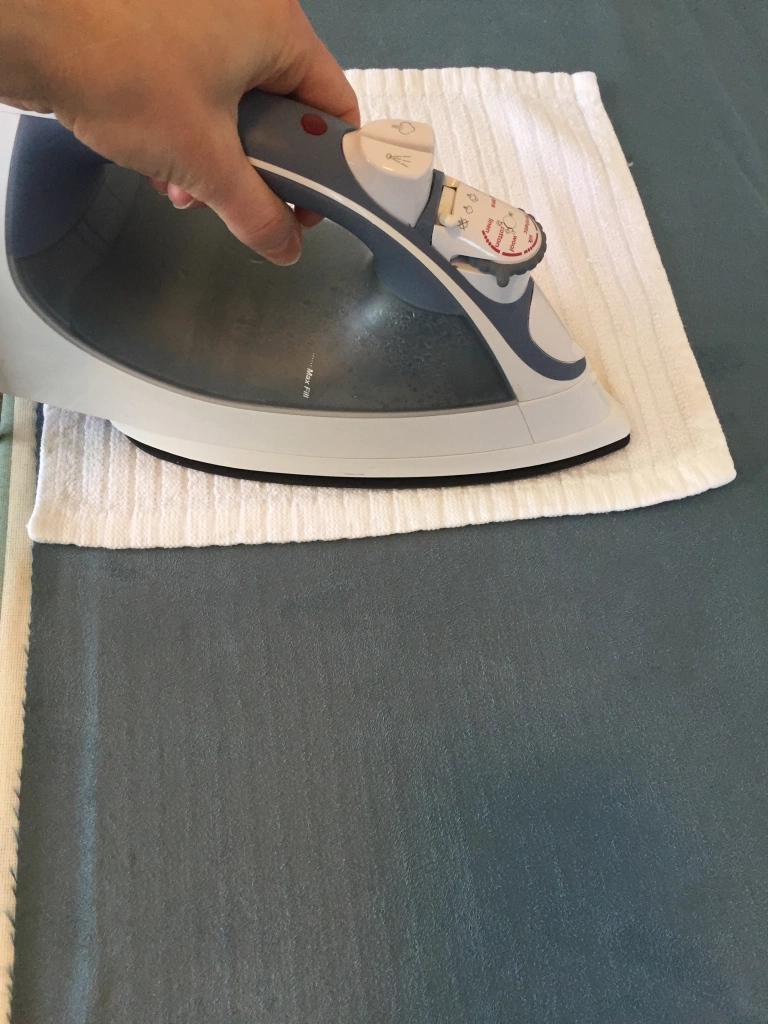
Options for finishing edges for Method Two:

Option 1:

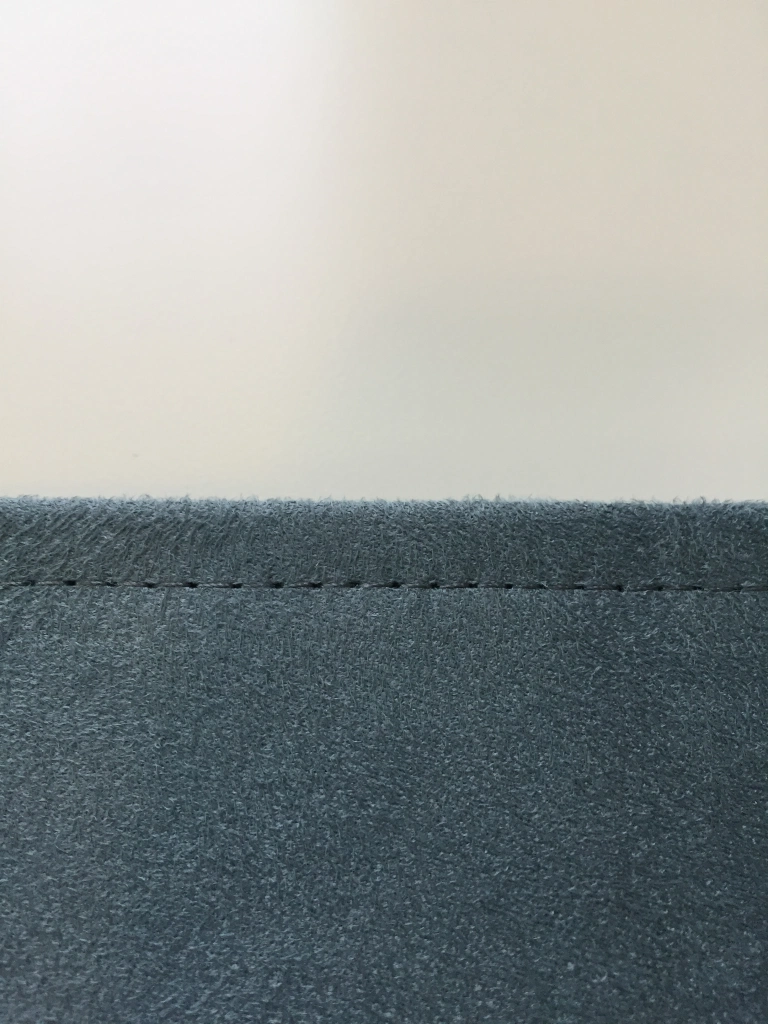
Fold over the excess material on each edge and topstitch with a regular sewing machine.

Option 2:

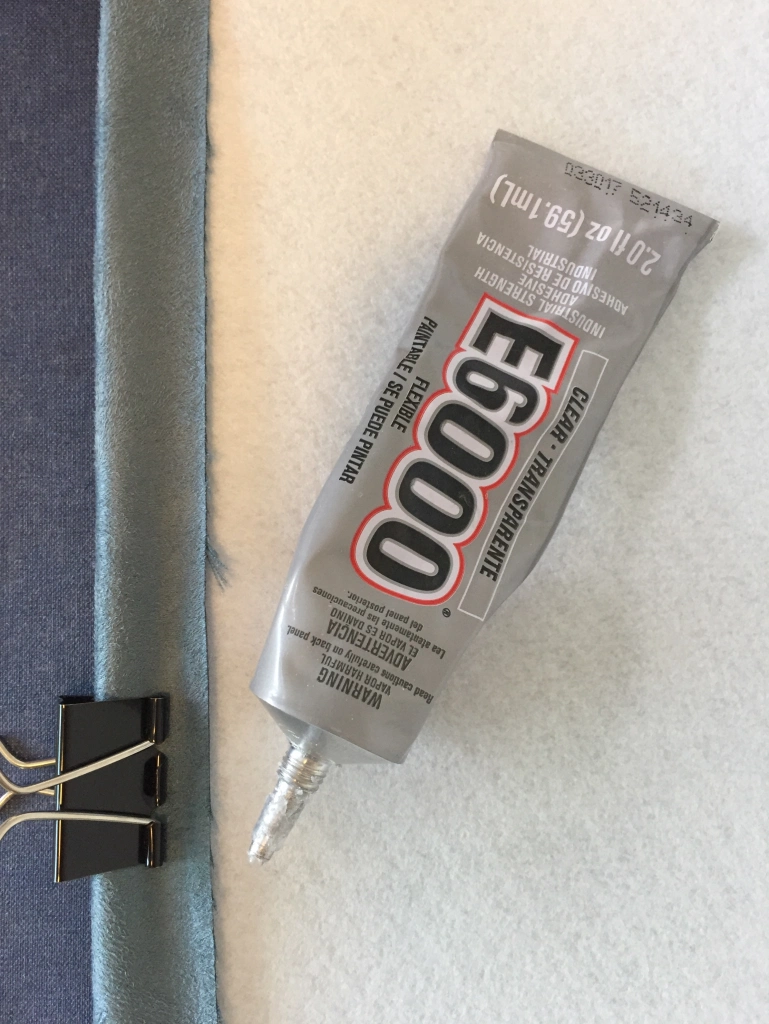
For NO-SEW, use E-6000 to glue the edges in place and secure with clips while drying. Alternatively, a hot glue gun would work, as well.

Option 3:

For NO-SEW, use Stitch Witchery to iron the edges in place.
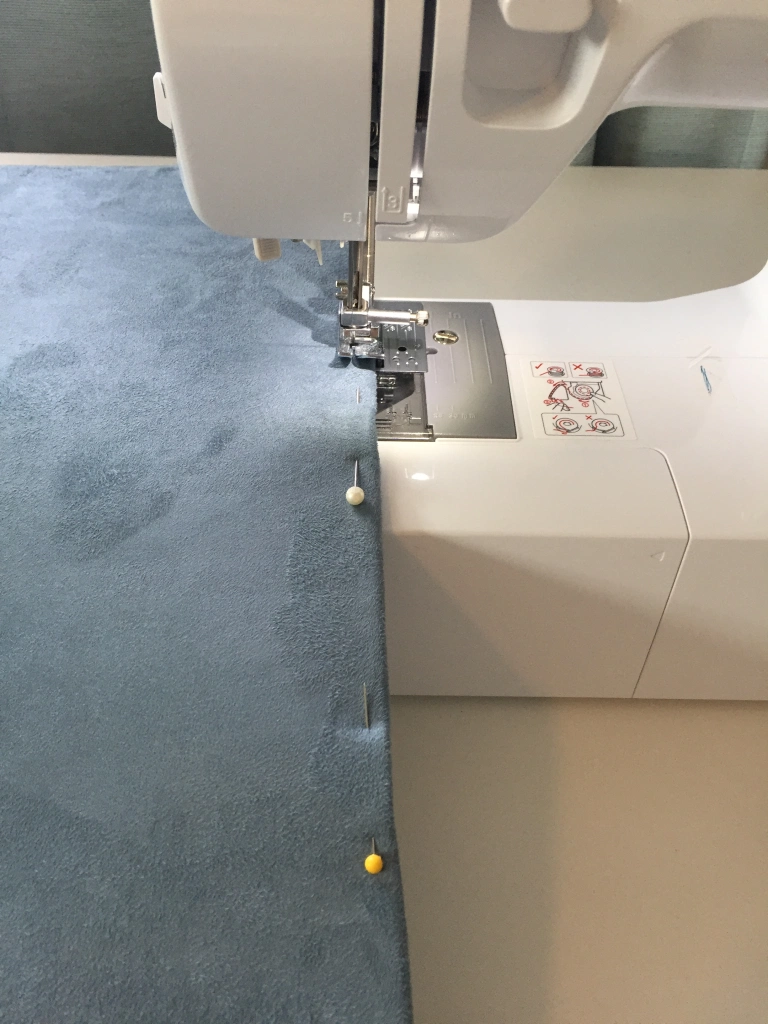
It’s that easy – each one takes me about 20 minutes from cutting, ironing, to serging. The finished size is approximately 20 inches by 36 inches. If you make your own, I’d absolutely love to see it. Please tag me on social media to so I can see your awesome flat lay mat creations!
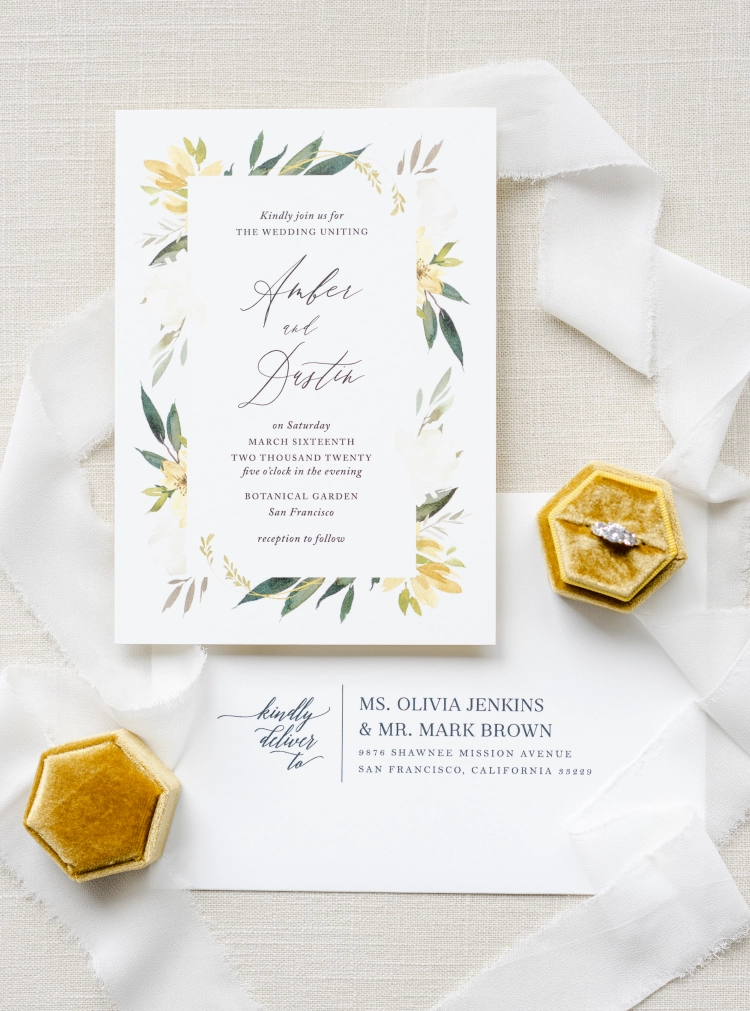
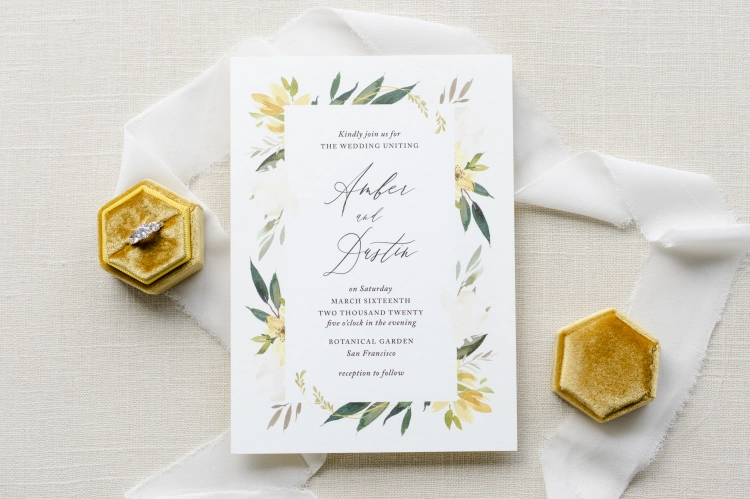
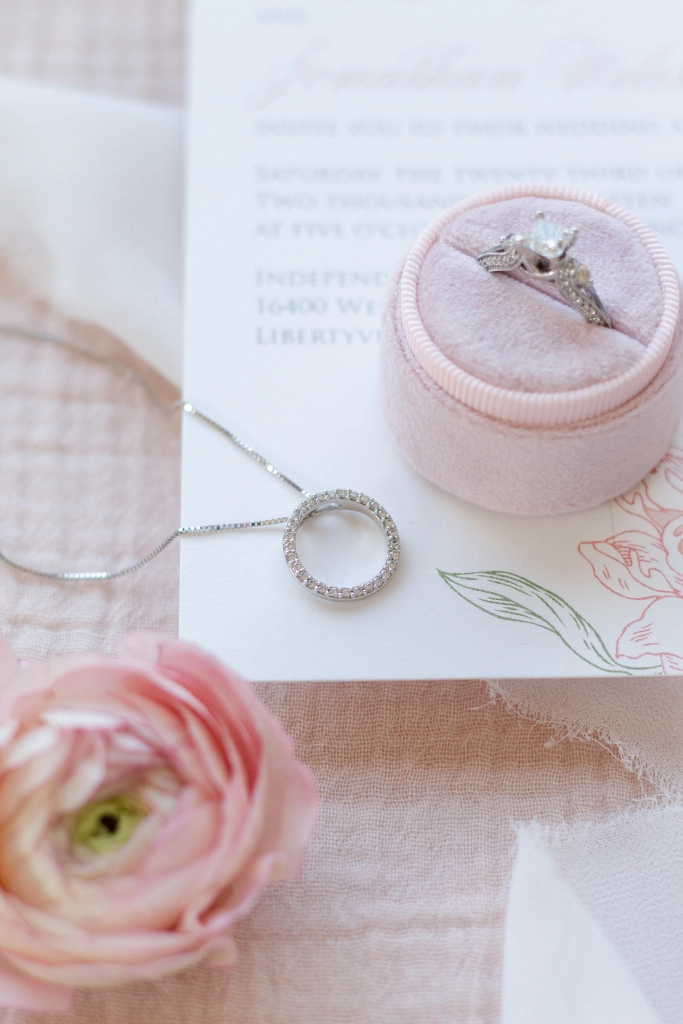
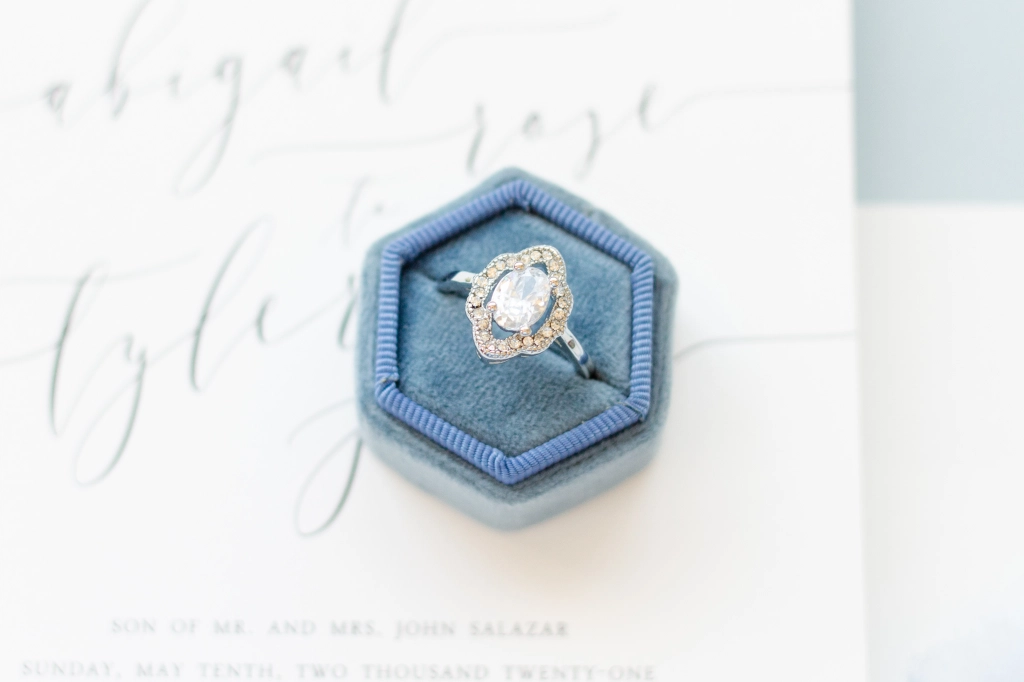
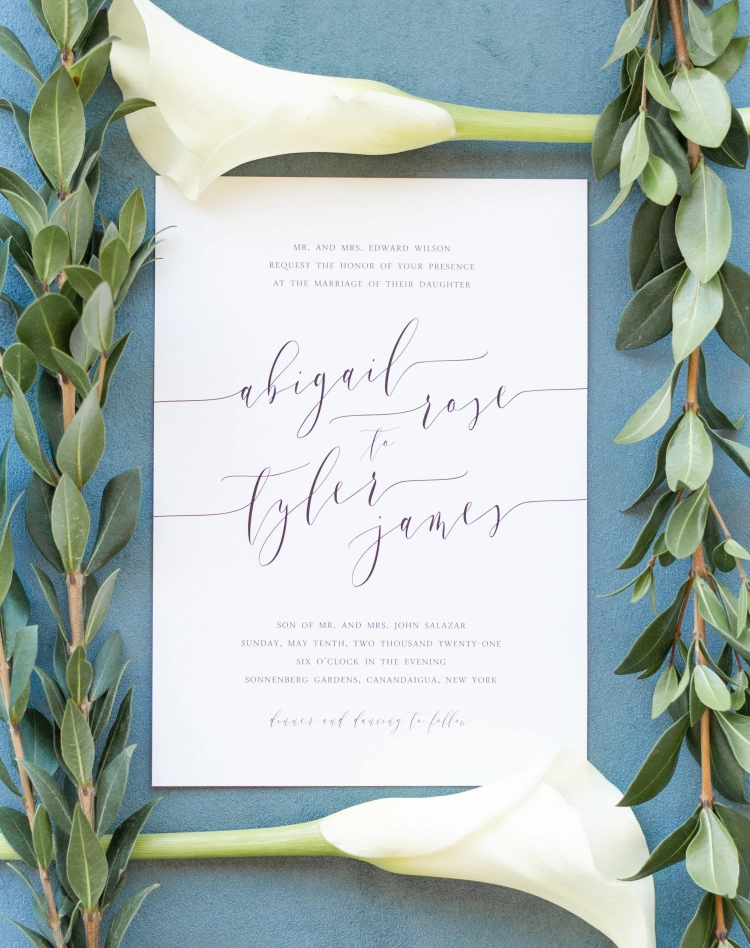
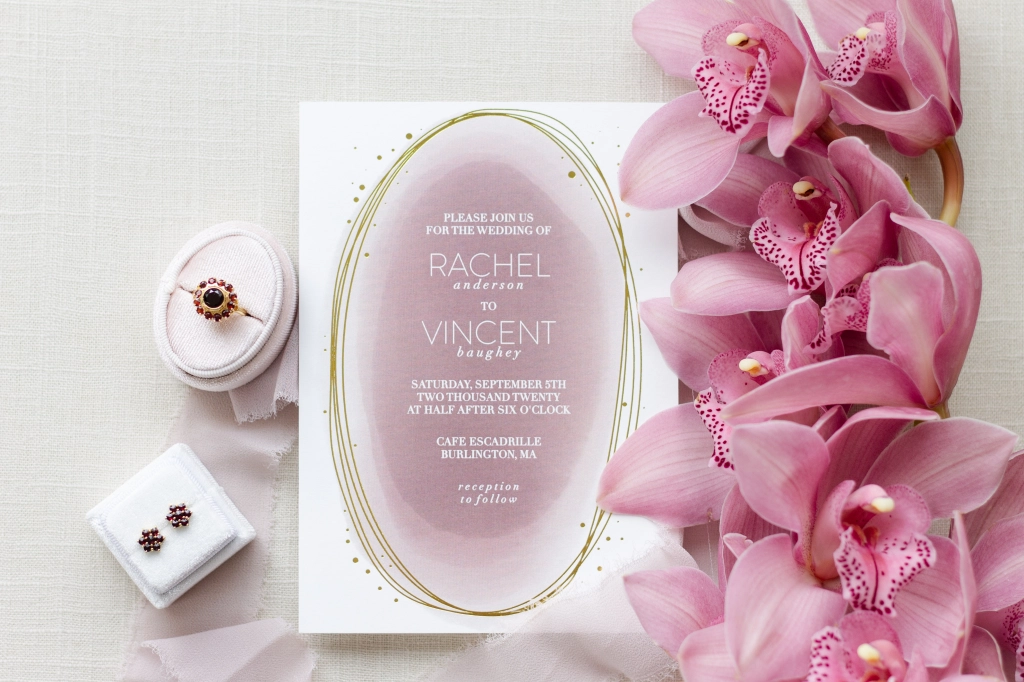
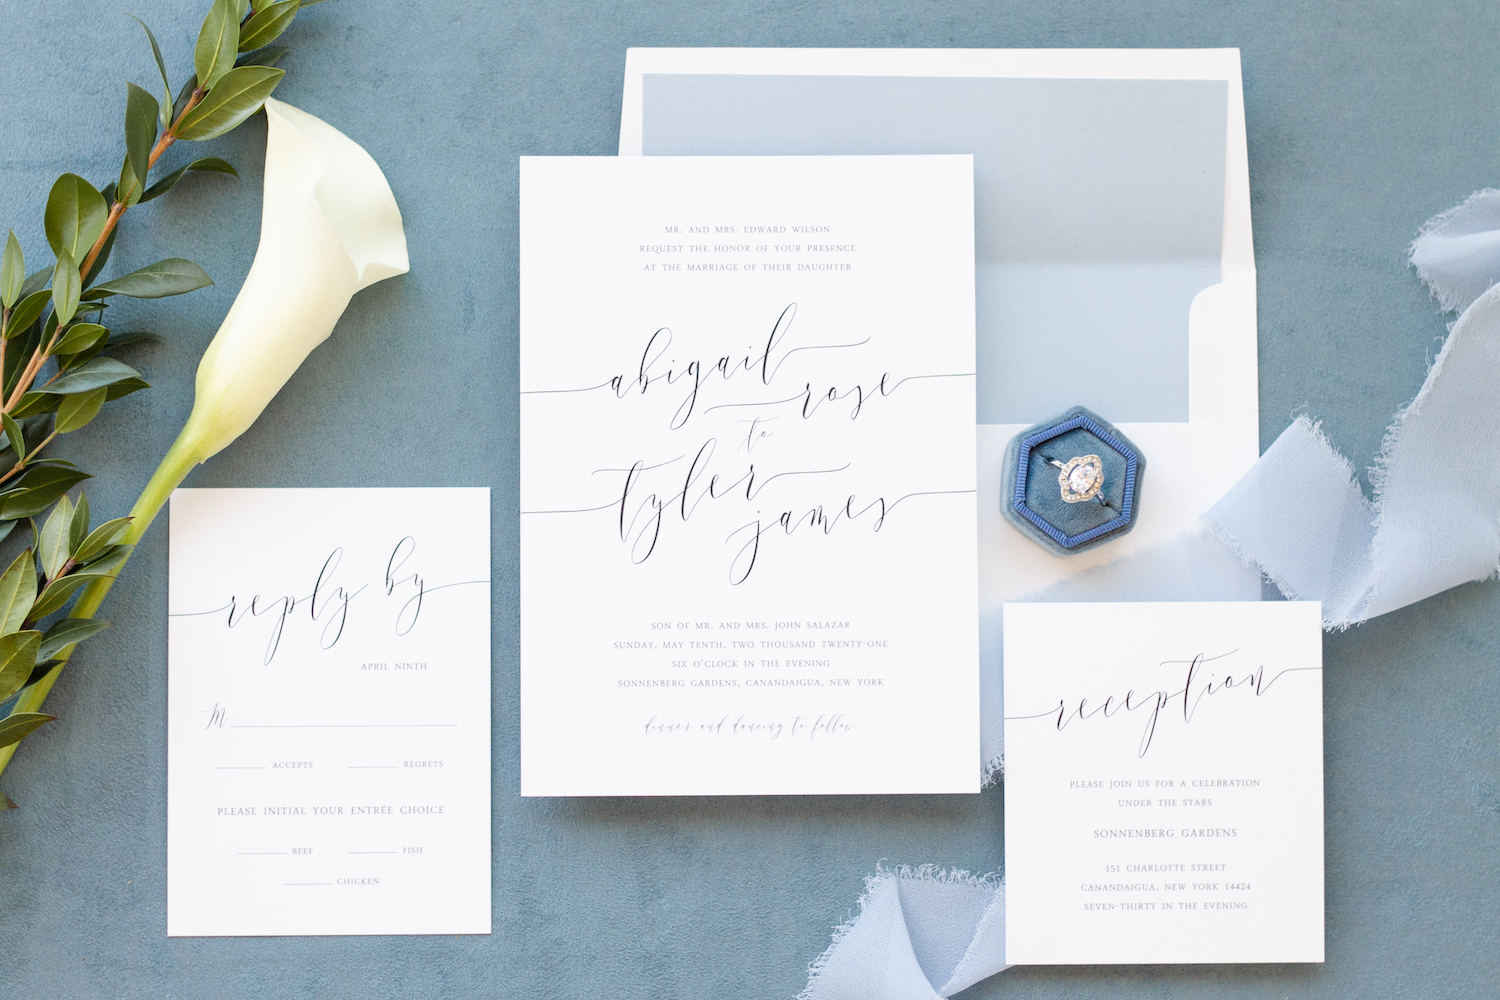
diy flatlay styling mat with wedding invitation
Lovely Invitation via Elli
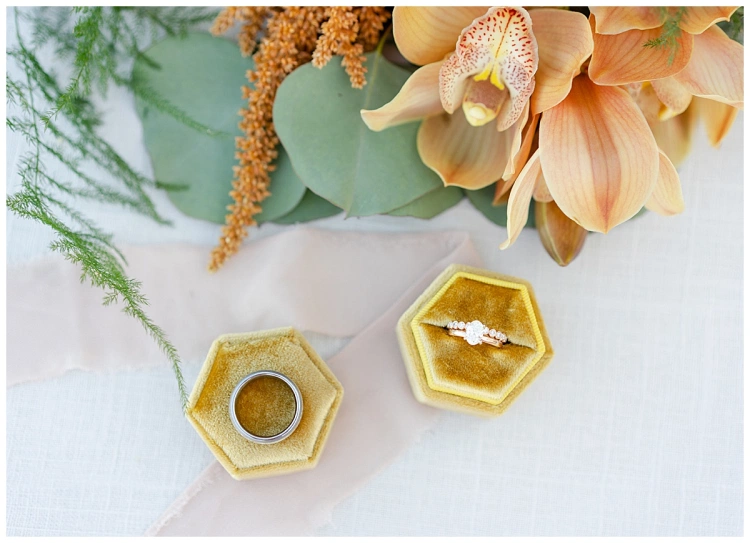
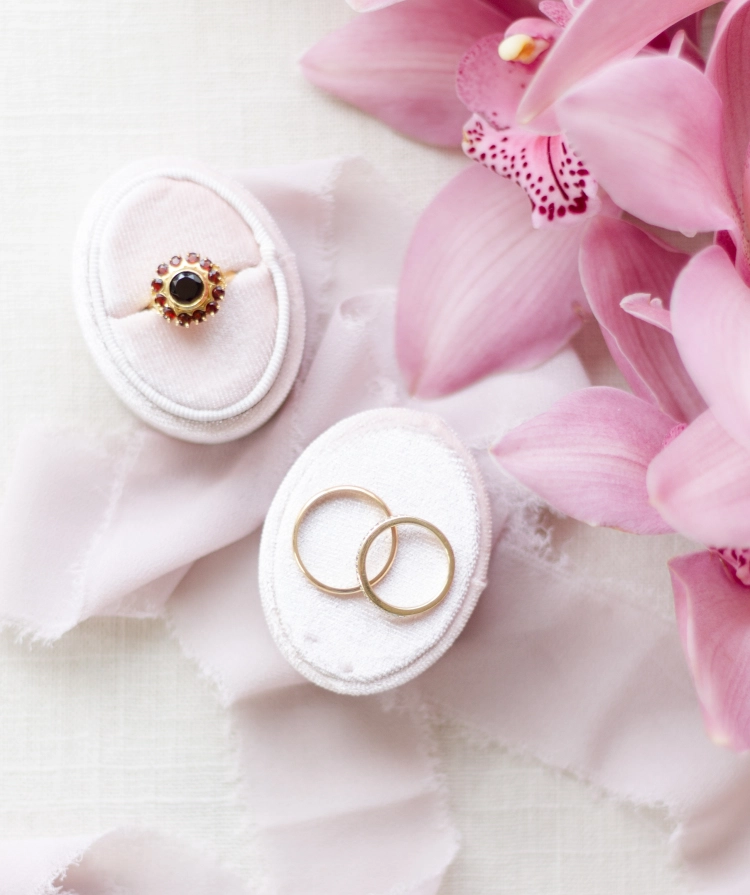
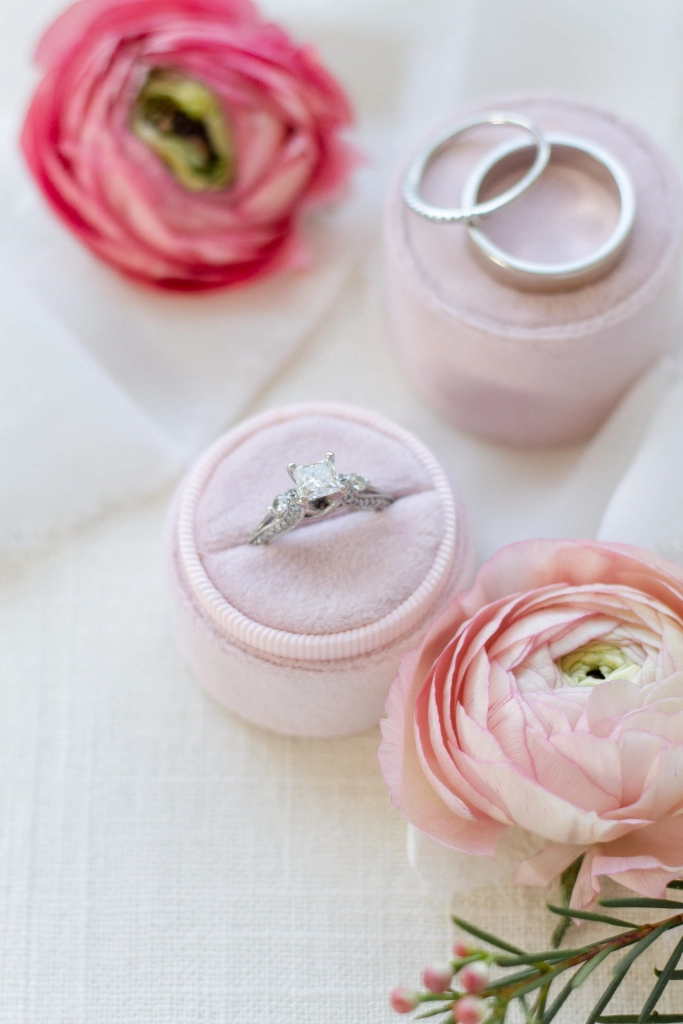
diy flatlay styling mat with wedding rings
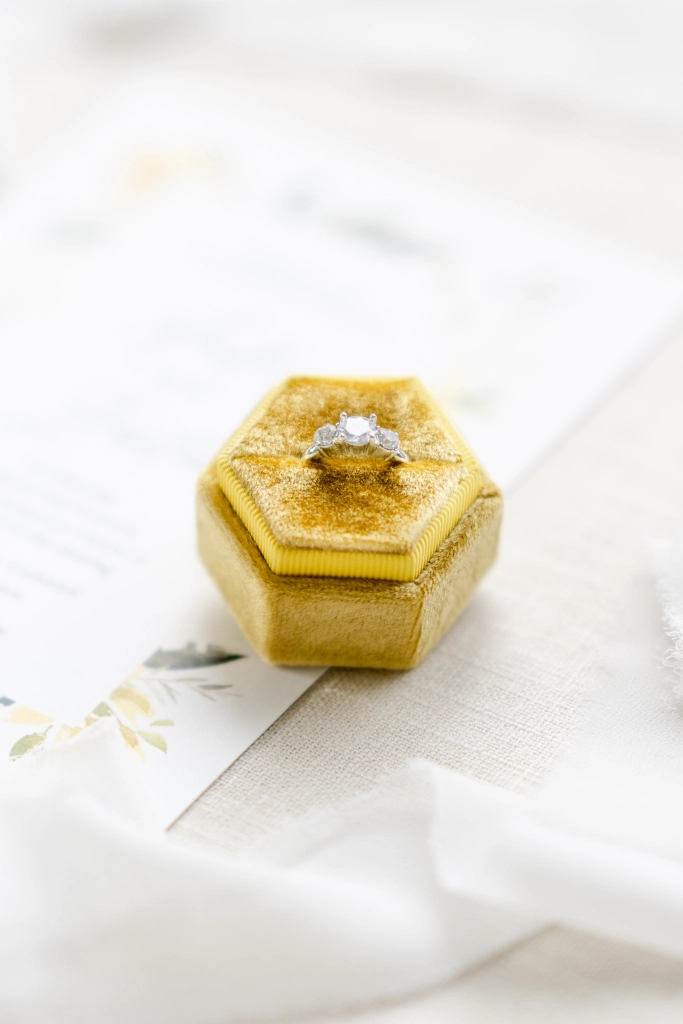
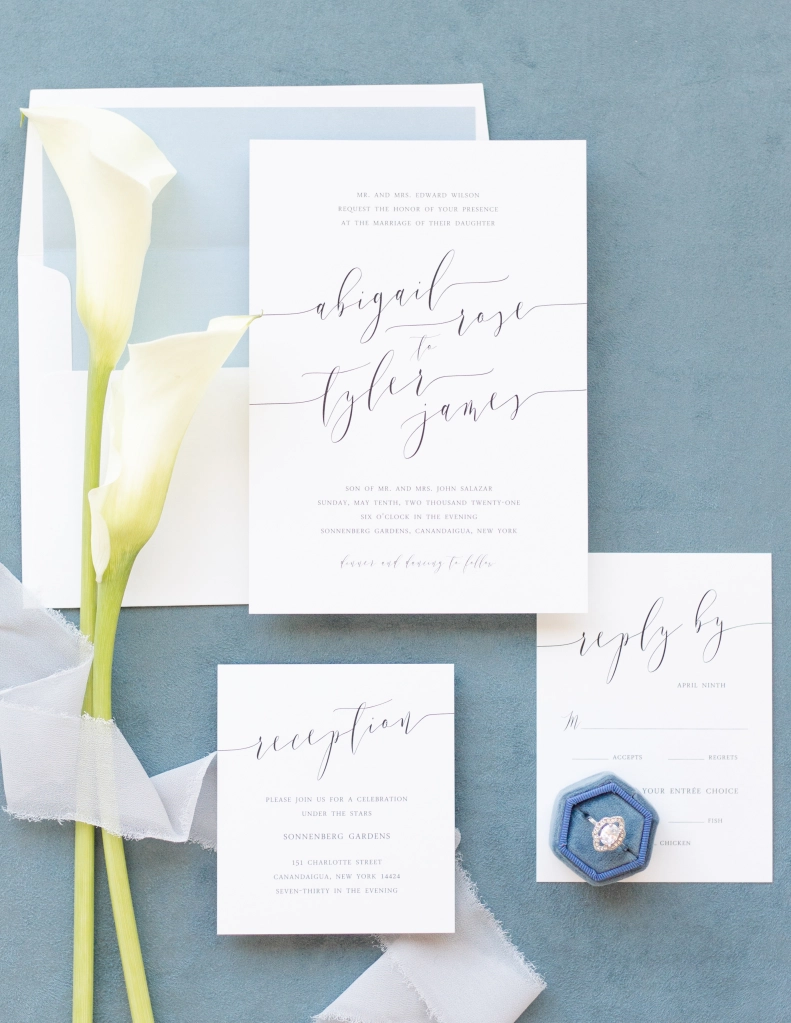
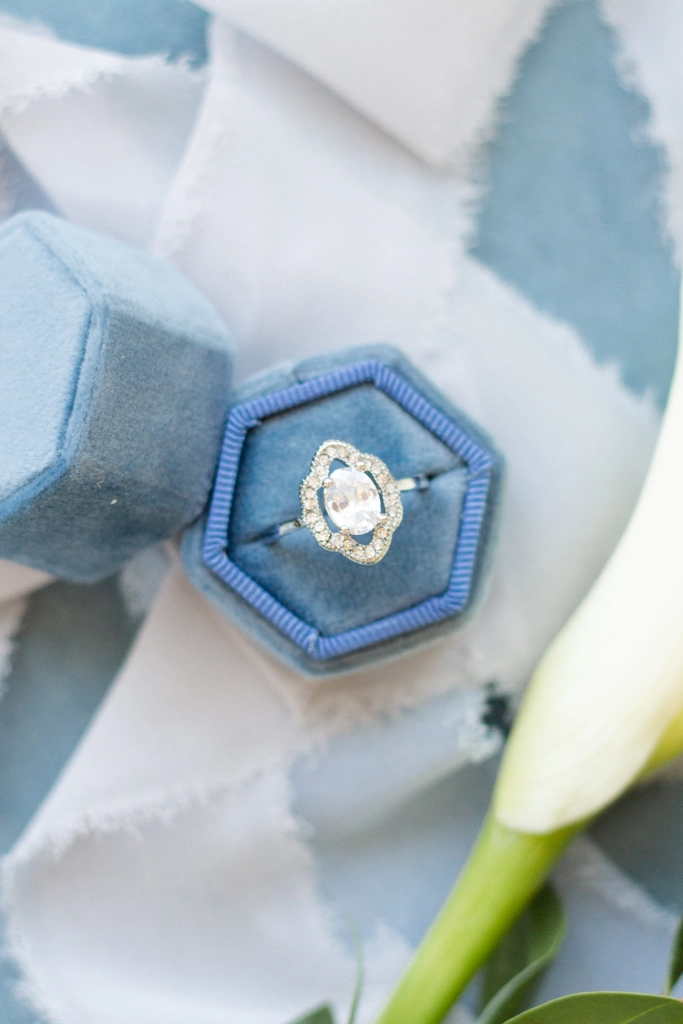
diy flatlay styling mat with engagement ring
diy flatlay styling mat with cymbidium orchids
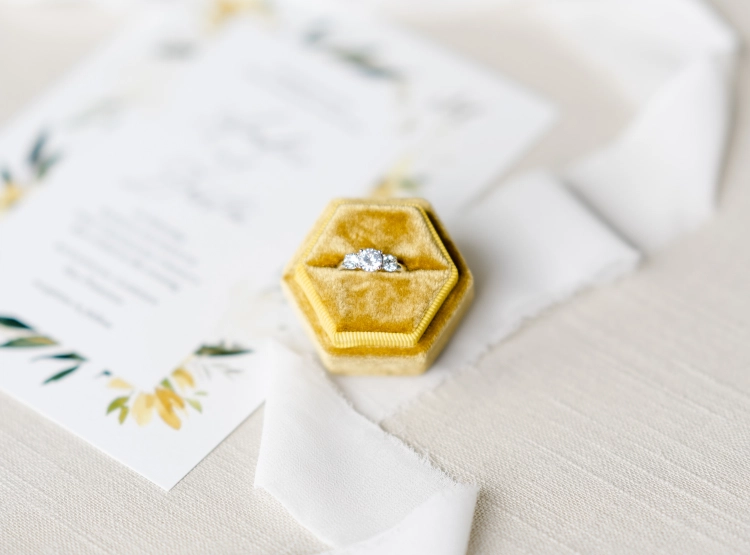
diy flatlay styling mat

If you have any questions about making your DIY flatlay styling mat, contact me here!

  1. Brenda says:

    Great tutorial. Very easy to follow instructions.

  2. Kellsey says:

    Can’t wait to try this! Beautiful!

  3. jennie says:

    Thank you for all the detailed photos. Can’t wait to give it a try!

  4. Do you know how often the Pellon goes on sale? I shouldโ€™ve bought mine last night, because itโ€™s back to full price today.

  5. Alex says:

    This may be a dumb question, but do you roll with the fabric out or the Pellon?

    • Mary Ann says:

      That’s a great question, Alex. I prefer to roll it up with the fabric on the inside to keep it looking nice. I rolled them with the fabric on the outside just for the demonstration photo. ๐Ÿ™‚

  6. Shea says:

    Hi ๐Ÿ™‚ what is the pink fabric you used?

  7. Shea says:

    Thank you!!

  8. Dom says:

    Hi! I love this! It looked like this flat lay was only one sided. I wondered if you had any tips to make it double sided with say one side faux suede and one side linen? I tried glueing two faux suede pieces together but it doesnโ€™t glue well and isnโ€™t very thick. I have a serger to see the edges but I am having trouble creating a way to make a sturdy double sided flat lay! Any tips would be amazing!

  9. Prestley says:

    Does the fabric wrinkle when rolled up? Tips on fabric to pick to prevent this?

  10. Amy Ambrose says:

    You are a genius! Thank you for sharing this!!

  11. Marissa says:

    Love this! To transport it, do you roll it up? Also with this size of mat do the shoes and invitation fit?

    • MaryAnn Craddock says:

      Great questions Marissa! Yes, I roll it up for transport. I think both the shoes and invitation would fit. The finished measurements are approx. 20×36 inches.

  12. Kaylie says:

    Wow this looks like the perfect flat lay mat! I will definitely be trying out this DIY, thank you so much! ๐Ÿ™‚

  13. Alyssa MacKinnon says:

    Hi!! I’m wondering if the mat like “buckles” when you roll it up? I used a different Pellon fuser, so maybe mine is thicker, I don’t know. But when I roll it (with the fabric on the outside), it like creases almost, like the pellon gets little lines in it. Does that happen to yours too?

    • MaryAnn Craddock says:

      Gosh, that’s a good question, Alyssa! Mine has never buckled. Are you sure the fabric is thoroughly fused? Also, I don’t roll my super tight, it’s a fairly loose roll. Or maybe it’s because you used a different one?

  14. Alyssa MacKinnon says:

    Hi MaryAnn! Thanks for the reply! I fused the material properly, I even double checked and it’s good! The material itself stays in place, but it’s like the peltex creases – the same way cardboard were to crease if you rolled it! It might be because I used a different kind, that’s all I can think haha. I’ll just have to transport them without rolling that’s all!! Thanks for your amazing tutorial, I’ve already made 5 and ordered more material for more ๐Ÿ˜

  15. Anna says:

    Ok, I have no idea what Iโ€™m doing wrong but this did not work for me at all. I used the exact materials as you, but the material was not sticking to the pellex. It would stick in random places and I have no idea why it didnโ€™t stick in those spots only. HELP!

    • MaryAnn Craddock says:

      Hi Anna – that’s frustrating! Did you sweep the iron lightly in random spots, or place it and let it sit in each spot while thoroughly steaming?

      • Anna says:

        Hi! I actually figure out what I was doing wrong. I had my iron set on wool setting but I donโ€™t think that was hot enough so I increased to a hotter temperature and then it worked! ๐Ÿ™‚ thank you!

  16. Rebekah says:

    Hello! Is the mat rollable? Does it damage it if you roll it?

  17. Joey says:

    Hi Mary Ann!
    Is there a difference between method one and two? I read it several times and it seems like theyre identical except for the finishing edges options. Also did you sweep the iron lightly in random spots, or place it and let it sit in each spot while thoroughly steaming?
    Thank you!

    • Mary Ann says:

      Great question Joey! You’re right, it’s the same except for finishing the edges.

      I place and steam, but don’t let it sit for too long, and then sweep. ๐Ÿ™‚

Leave a Reply

Your email address will not be published. Required fields are marked *

Browse Categories

browse by category

Weddings

anniversaries

engagements

families

Learn more

I'm Mary Ann and I'm so happy you're here. This blog is a journal about my photography, travels, and diy projects. Stay a while and say hello!

welome to my blog

arrow

Hello

The macp Wedding Day guide

Planning out your wedding day is a lot of work! This guide will give you one of my example timelines. As the seasons change, so does your timeline. I am more than happy to help!

DOWNLOAD

FREE DOWNLOAD

free download

STEAL THIS WEDDING DAY timeline

Planning out your wedding day is a lot of work! This guide will give you one of my example timelines. As the seasons change, so does your timeline. I am more than happy to help!

ยฉ mary ann craddock 2024

design by tonic

privacy policy

|

|